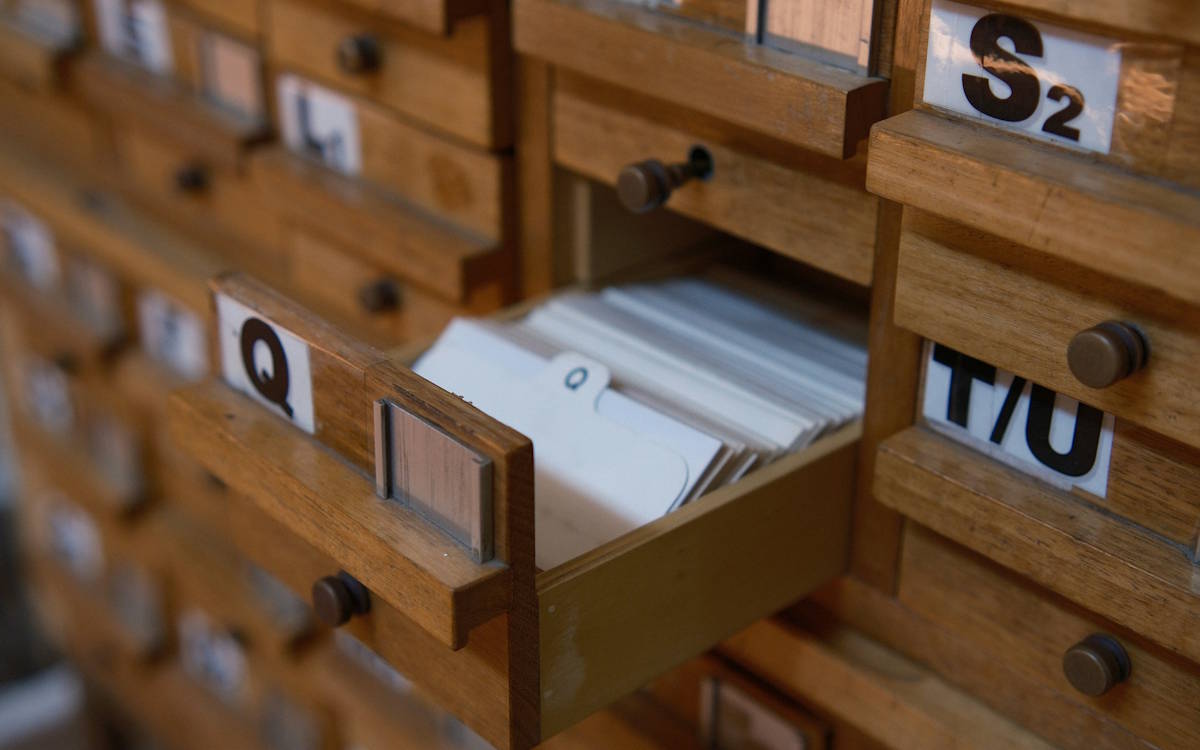
Photo: Diego Marín
Documentation and Cataloguing: Two Different Things
Documentation and cataloguing are often used interchangeably. They are not the same thing.
Documentation answers the question: What kind of object is this, where does it come from, what does it mean? If you'd like to explore these foundations in depth, the linked article provides a thorough introduction to the three layers of collection documentation: factual properties, provenance, and collection context.
Cataloguing answers the question: How do I record my objects so I can find them, manage them, and pass them on? This article focuses on exactly that operational side: Which fields do I actually need? How do I assign inventory numbers? How do I photograph systematically? Which tool suits my collection?
Both perspectives belong together – but in the day-to-day practice of collecting, you need them separately: the why and the how.
This article is the practical companion to the foundational article on collection documentation. If you understand the principles, here you'll find the tools to put them into action.
1. From Object to Catalogue Entry: What Cataloguing Must Achieve
A catalogue is not simply a list. It is a structured system that fulfils three core functions at once:
- Identification: Every object must be findable with certainty – years later, even if the collector is no longer around.
- Information: The catalogue preserves the relevant knowledge about each object – facts, condition, origin, value.
- Management: The catalogue provides information about storage locations, loans, insurance values, and transactions.
A well-maintained catalogue makes a collection independent of any single person's memory. That is its true value – not the volume of data, but its reliability.
2. The Foundation: A Consistent Inventory Number System
Before the first line of data is entered, one decision must be made: How do we number things?
The inventory number is the anchor of every catalogue entry. It connects the physical object to its digital record – on the label, in the photo filename, in the storage register, and in the database. Skipping this step means building on sand.
What Makes a Good Numbering System
- Unique: Each number appears exactly once
- Stable: The number does not change, even if the object moves to a different storage location
- Readable: Understandable without a lookup key
- Scalable: Still works with 10,000 objects
Proven Schemas
- Alphanumeric by category:
COIN-2024-001(coins, year of entry, sequential number) - Numeric with prefix block:
100-001(category 100, object 001) - Chronological:
20240312-001(date of entry, sequential number for that day)
Recommendation: Alphanumeric schemas with category prefixes are the most readable and easiest to trace back.
STAMP-2024-042tells you far more at a glance than a meaningless number.
Labelling the Objects
Every catalogued object should be physically marked with its inventory number – as long as this can be done without causing damage:
- Coins, medals: Small label in the coin holder or bag
- Records: Small label on the inner sleeve
- Artworks: Pencil inscription on the back of the support
- Books: Bookplate sticker or pencil entry on the title page
- Fragile objects: Label on the storage or protective container
3. Choosing the Right Data Fields
The most common mistake when building a catalogue: creating too many fields that never get filled in. A lean system that is consistently maintained is worth more than a perfect system that stays half-finished.
Required Fields: The Absolute Minimum
These fields should be complete for every object – no exceptions:
- Inventory number – Unique identifier according to your schema
- Name / title – A short, descriptive name for the object
- Category / collection area – Where does this object belong in your collection?
- Date of creation – Year or period of creation or manufacture
- Condition – Standardised condition description (e.g. Mint / Very Good / Good / Fair / Poor)
- Acquisition date and source – When and where was the object acquired?
- Cover image – At least one representative photo
Extended Fields: Depending on Collection Type and Ambition
These fields significantly improve catalogue quality – but can be added gradually:
- Purchase price and current estimated value – Basis for insurance and market comparison
- Storage location – Room, furniture, container, position
- Maker / artist / author – Depending on collection type
- Material and technique – Especially relevant for artworks and historical objects
- Dimensions and weight – Useful for coins, sculptures, minerals
- Provenance notes – Previous owners, exhibition history
- Associated documents – Certificates of authenticity, receipts, appraisals as scans
- Loan status – On loan to whom, until when
- Insurance value – Record separately from purchase price
- Internal notes – Free-text field for context, special features, research leads
Practical tip: Define your field standard once and stick to it consistently. Inconsistent fields are the biggest problem with self-built catalogues – and very difficult to fix later.
Don't Want to Figure This Out Yourself? Use Templates
If you'd rather not start from scratch, you can rely on ready-made templates. collectors.place provides more than 50 templates for different collecting areas – from coins and stamps to records and trading cards, through to artworks, books, and toys. Each template already includes the relevant required and extended fields for that type of object. Choose the right template, and you're ready to go – no need to think about field structure at all.
Condition Description: Separating Observation from Assessment
The foundational article on collection documentation rightly highlights how important it is to separate observation from assessment. When cataloguing, this applies very concretely:
- Observation (facts, neutral): "Fine scratches visible in the upper left corner, paint slightly chipped"
- Assessment (judgement): "Condition: Good"
Both fields should exist in the catalogue. The assessment can change over time – after a restoration, for example. The observation is a historical record and should never be overwritten.
4. Photo Documentation: Making Every Image a Reliable Record
A catalogue entry without a photo is like a passport without a photo: formally correct, perhaps, but practically useless when it matters. Images enable the immediate identification of an object – and in the event of damage or theft, they are often the only accepted proof for insurance purposes.
Camera or Scanner?
Flatbed scanners are ideal for two-dimensional objects: stamps, trading cards, drawings, documents, record covers. At 300–600 dpi, they deliver reproducible, distortion-free results that are difficult to match with even a decent camera.
Camera or smartphone are the right choice for three-dimensional objects: coins, figures, sculptures, jewellery, toys, model vehicles. Use a neutral background, even lighting, and sharp depth of field throughout the object.
Minimum Standard per Object
- Simple objects: 1–2 photos (front, and back if relevant)
- Mid-value objects: 3–5 photos (front and back, relevant details, signature or stamp)
- High-value / complex objects: 6+ photos (all sides, damage, special features, certificate, packaging)
Filenames and Storage
Name photo files after the inventory number of the object:
COIN-2024-001_front.jpg
COIN-2024-001_back.jpg
COIN-2024-001_detail_edge.jpg
This makes later matching straightforward and keeps photos findable even outside your catalogue software.
Managing Photos Directly in the Catalogue
With collectors.place, you can upload photos directly when recording an object and attach them to the catalogue entry – no separate folder system or manual linking required. Multiple images per object are supported, and one image is used as the cover preview. This makes photo management significantly simpler than with spreadsheets or local solutions, where photos and data records tend to drift apart over time.
Rule of thumb: A decent smartphone photo today is worth more than a perfect photo that never gets taken.
5. Software: Which Tool Suits Which Collection?
Choosing the right tool matters – but it's no reason to delay. Start with what you have and switch when you hit limits. A half-finished catalogue in Excel is worth more than an empty account in a specialist platform.
Spreadsheets (Excel, Google Sheets)
A solid starting point or suitable for very small collections of under about 200 objects. Downsides: no native image integration, no provenance logic, weak search as data grows, no mobile app for use on the go.
Specialised Niche Software
- Discogs – First choice for music collections (vinyl, CDs, cassettes). Extensive database, live market prices, community infrastructure.
- Data Crow – Open-source solution for media collections (books, films, music). Free, but outdated in its interface design.
- iCollect / MyCollections – General collection software with image support and a mobile app.
- Stamp Manager – Specifically for stamp collections with an integrated catalogue for German-speaking countries.
collectors.place: Cataloguing with Context
collectors.place was not built as a marketplace or a social network – it was built as a permanent digital home for collections. The difference lies in its focus: not just what an object is, but what it means and where it comes from.
For cataloguing specifically, collectors.place offers:
- Structured object entry – Required and extended fields for all common collection types
- Templates – Pre-built field structures for recurring object types
- Full media integration – Photos, videos, documents, and certificates directly attached to each catalogue entry
- Provenance as its own layer – Not a text box, but a structured chain of ownership with dates and sources
- Storage location management – Know exactly where each object is at any time
- Collaborative management – Multiple people can work on the same collection
- Public presentation – Share selected parts of the collection in a gallery-style layout
collectors.place brings together what other tools keep separate: operational cataloguing (inventory numbers, fields, photos) and substantive documentation (context, provenance, meaning).
6. The Cataloguing Workflow: Step by Step
A concrete process that works in practice – whether you're starting with 10 objects or 10,000:
- Define your collection structure – Decide which categories and subcategories your collection has. Example: Coin collection → Europe → United Kingdom → Pre-decimal → Pennies. This hierarchy determines your numbering schema.
- Define your numbering system – Choose a schema, write it down. Never change it retroactively.
- Choose your fields – Define required and extended fields. Start lean: 7 required fields filled consistently beats 30 fields filled haphazardly.
- Set up your tool – Build your collection structure in your chosen tool before you enter the first object.
- Prioritise objects – Start with the most valuable or significant pieces. The rest can follow gradually.
- Photograph – Take photos at the point of entry. Catching up later takes twice as long.
- Enter data – Fill in all required fields completely, attach photos, scan and link documents.
- Record storage location – Write down where the object is kept – room, furniture, container, position.
- Label the object – Attach the inventory number to the object or its storage.
- Set up a backup – Automatic cloud backup plus external drive. Test it once to make sure it works.
- Maintain the catalogue continuously – Enter new objects immediately, note condition changes, update loan records.
The most common reason cataloguing projects fail: setting the bar too high, then doing nothing. Start today with five objects.
7. The 7 Most Common Cataloguing Mistakes
Not every problem can be avoided – but these mistakes are common enough that they can be anticipated and prevented:
- No numbering system – Objects without an inventory number exist in the catalogue but cannot be reliably linked back to the physical item. Retrofitting is laborious.
- Inconsistent field entries – Sometimes abbreviated, sometimes written out, sometimes in different languages. This makes later searching and filtering unreliable.
- Skipping or postponing photos – The single biggest source of regret. If you don't photograph at acquisition, you rarely do it later.
- Creating too many fields – Leads to overwhelm and half-filled entries. Starting lean is always better.
- No backups (for local solutions) – Anyone working locally bears full responsibility for data security. Drives fail, devices get lost. With online platforms, this simply isn't an issue.
- Not documenting provenance – At the point of purchase, the origin is fresh in your memory. It fades quickly afterwards.
- Treating the catalogue as a one-time project – A catalogue that isn't maintained goes stale and loses its value. It is a living document.
8. Data Security: Keeping Your Catalogue Safe
The most valuable collection database is worthless if it's lost. Loss happens through hardware failure, theft, accidental deletion – or simply a hard drive that gives up after a few years.
The Silent Risk of Excel and Local Solutions
Anyone managing their collection in an Excel file or locally installed software takes on full responsibility for data security themselves. In practice, this means regular manual backups, a versioning system, and at least one copy stored at a different physical location. Most collectors neglect this – at the risk of losing years of work.
The 3-2-1 Rule for Local Solutions
If you're working locally regardless, know this rule and apply it consistently:
- 3 copies of your data
- 2 different storage media (e.g. laptop + external hard drive)
- 1 copy at a different physical location (cloud service or second site)
Online Platforms: Backup Included
With web-based platforms like collectors.place, this problem largely disappears. Data is stored server-side and professionally secured – without the user having to do anything. A device breaks, you reset your password, and your collection is fully available again.
Recommendation: For an extra layer of security, export your catalogue regularly as a CSV or PDF – a platform-independent copy for emergencies.
9. Conclusion: Cataloguing as an Investment in Your Collection
Cataloguing is not an additional task alongside collecting. It is part of collecting – perhaps the part that determines whether a collection endures or becomes meaningless over time.
The key takeaways:
- A consistent inventory number system is the most important decision when building a catalogue
- Start with a small number of required fields – filled in completely and consistently
- Photograph at the point of entry, not later
- Separate observation from assessment – for transparency and traceability
- Protect your catalogue through backups and platform-independent exports
- Treat the catalogue as a living document, not a one-time project
The deeper dimension – why things get documented, what provenance and context actually mean – is covered in the foundational article. Read both, and you have everything you need to build a collection that lasts for decades.

How do individual objects become a coherent collection? This article explains how to document collections effectively, which information is truly relevant, and why structure, context, and transparency are crucial for long-term collection value.
Provenance describes the origin and ownership history of an object. This article explains what provenance means, why it is important for collectors, and how it contributes to the long-term documentation of collections.