Add Items
Items are the central entries in a collection. Every item is based on a template that defines which details it needs later. The screenshots below show the full flow from the first click to the opened item view.
Creating an item
The process starts with New Item.
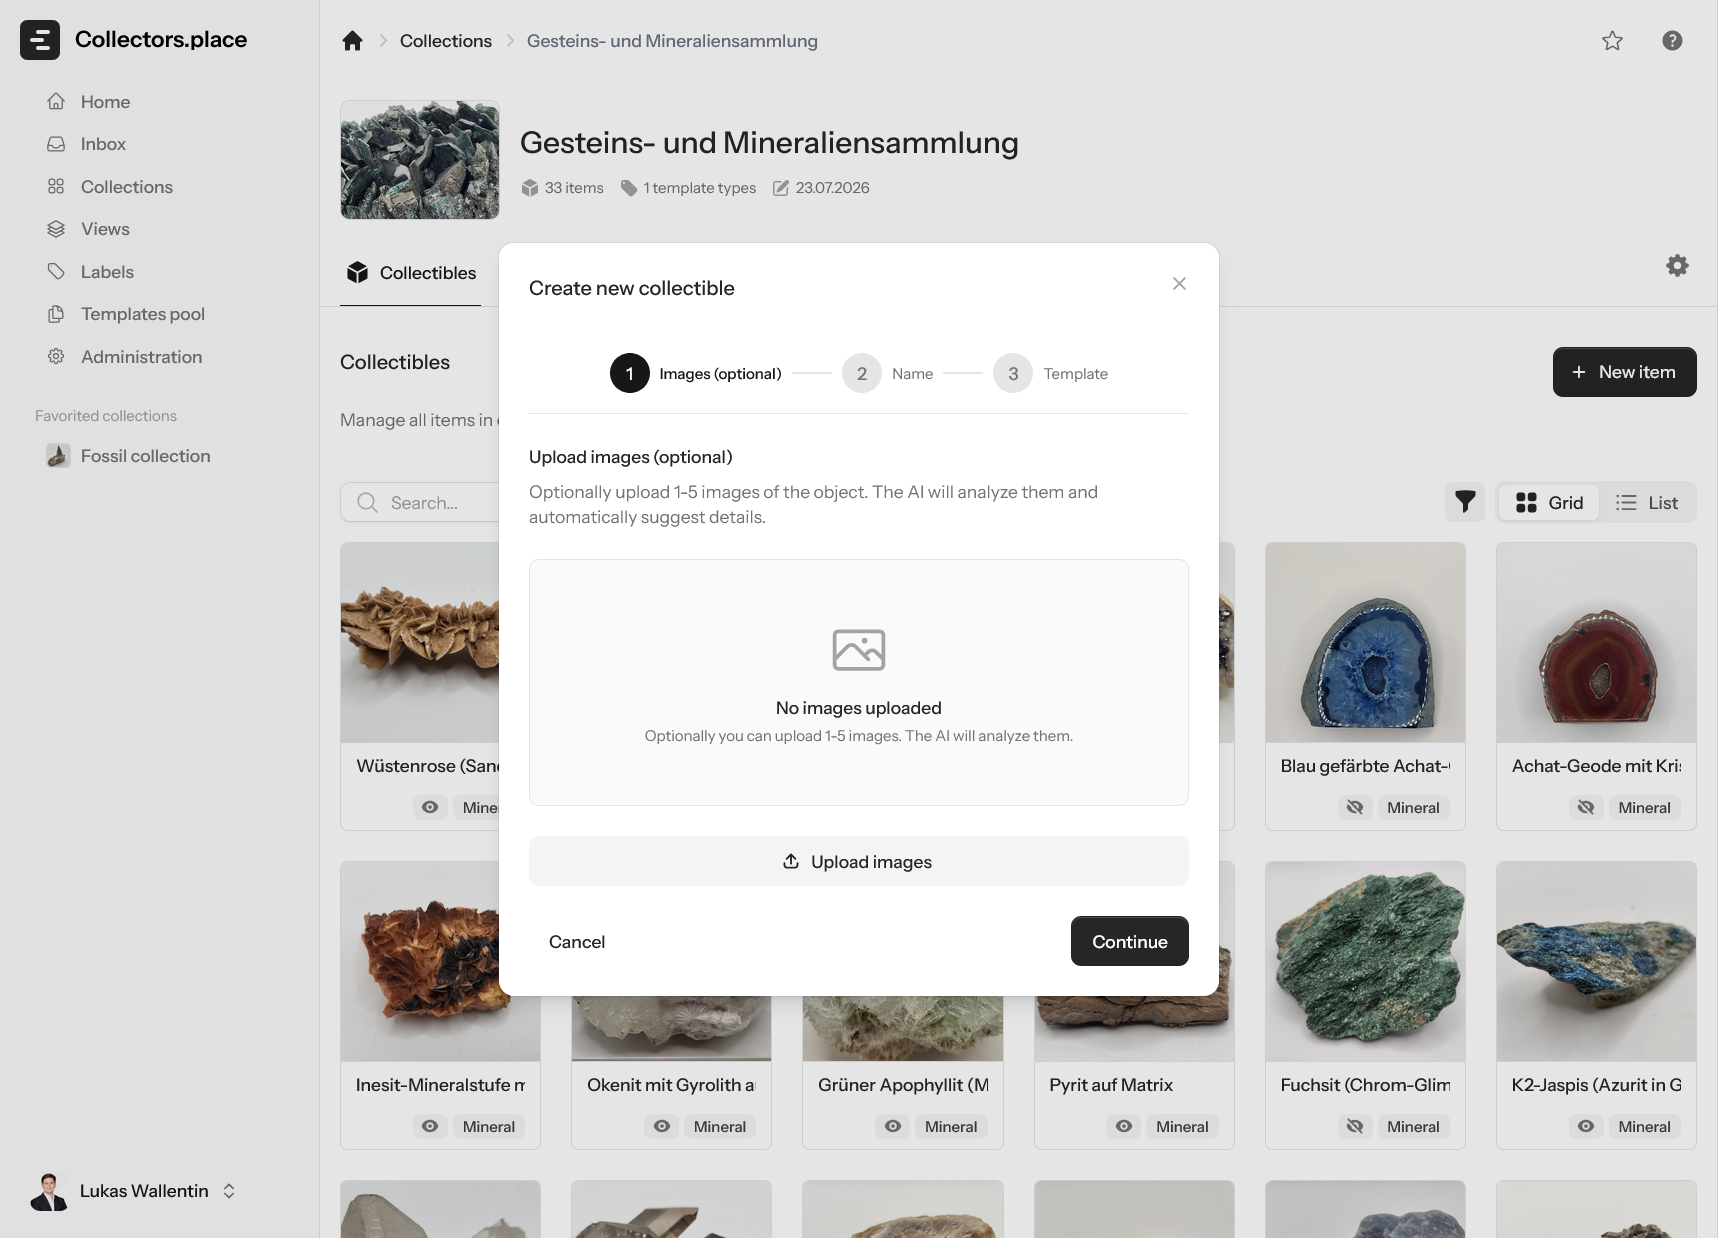
In the first step you can upload up to five images. This is useful when the object should be documented visually or when the images may help with later analysis. You can also upload label photos here, for example, and collectors.place will analyze them later as well.
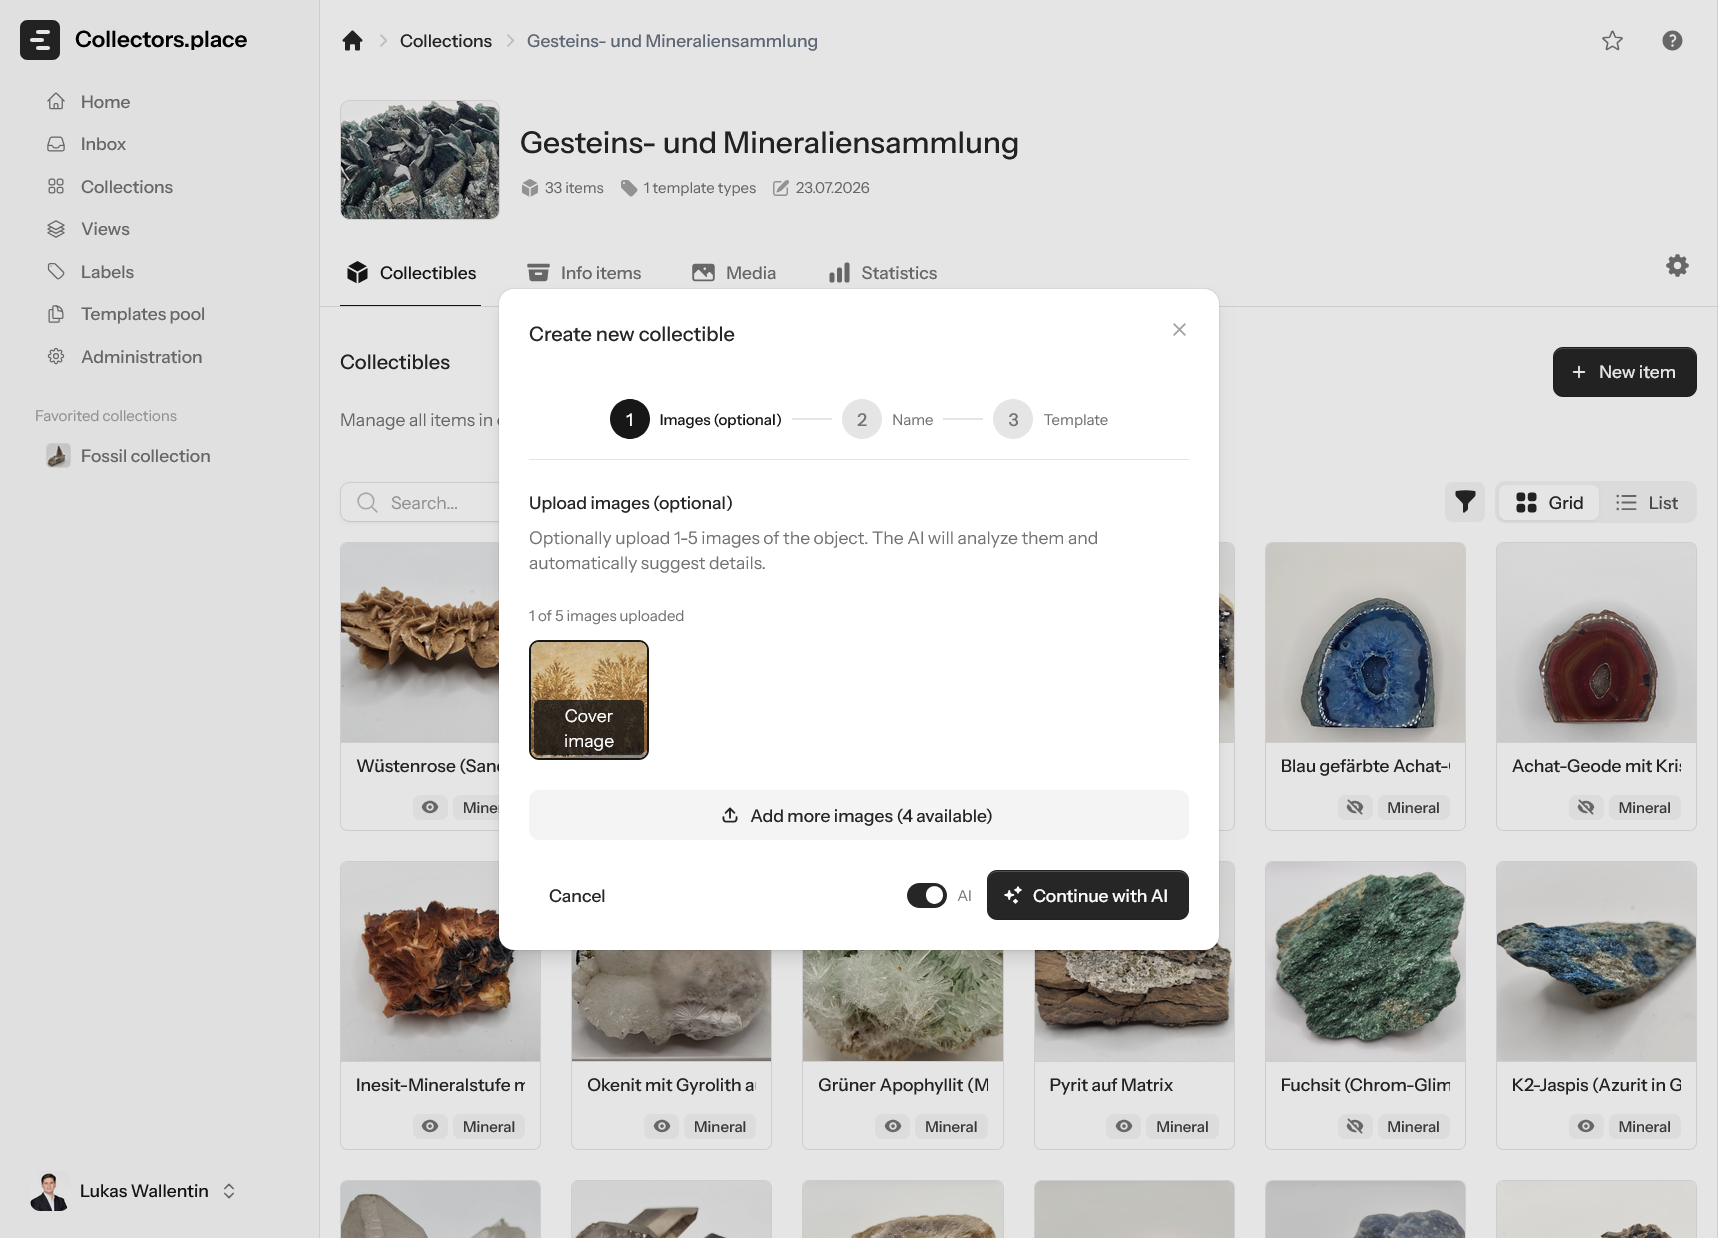
If images are already available, collectors.place analyses them automatically and tries to derive useful details. That often gives you a solid first structure for the item.
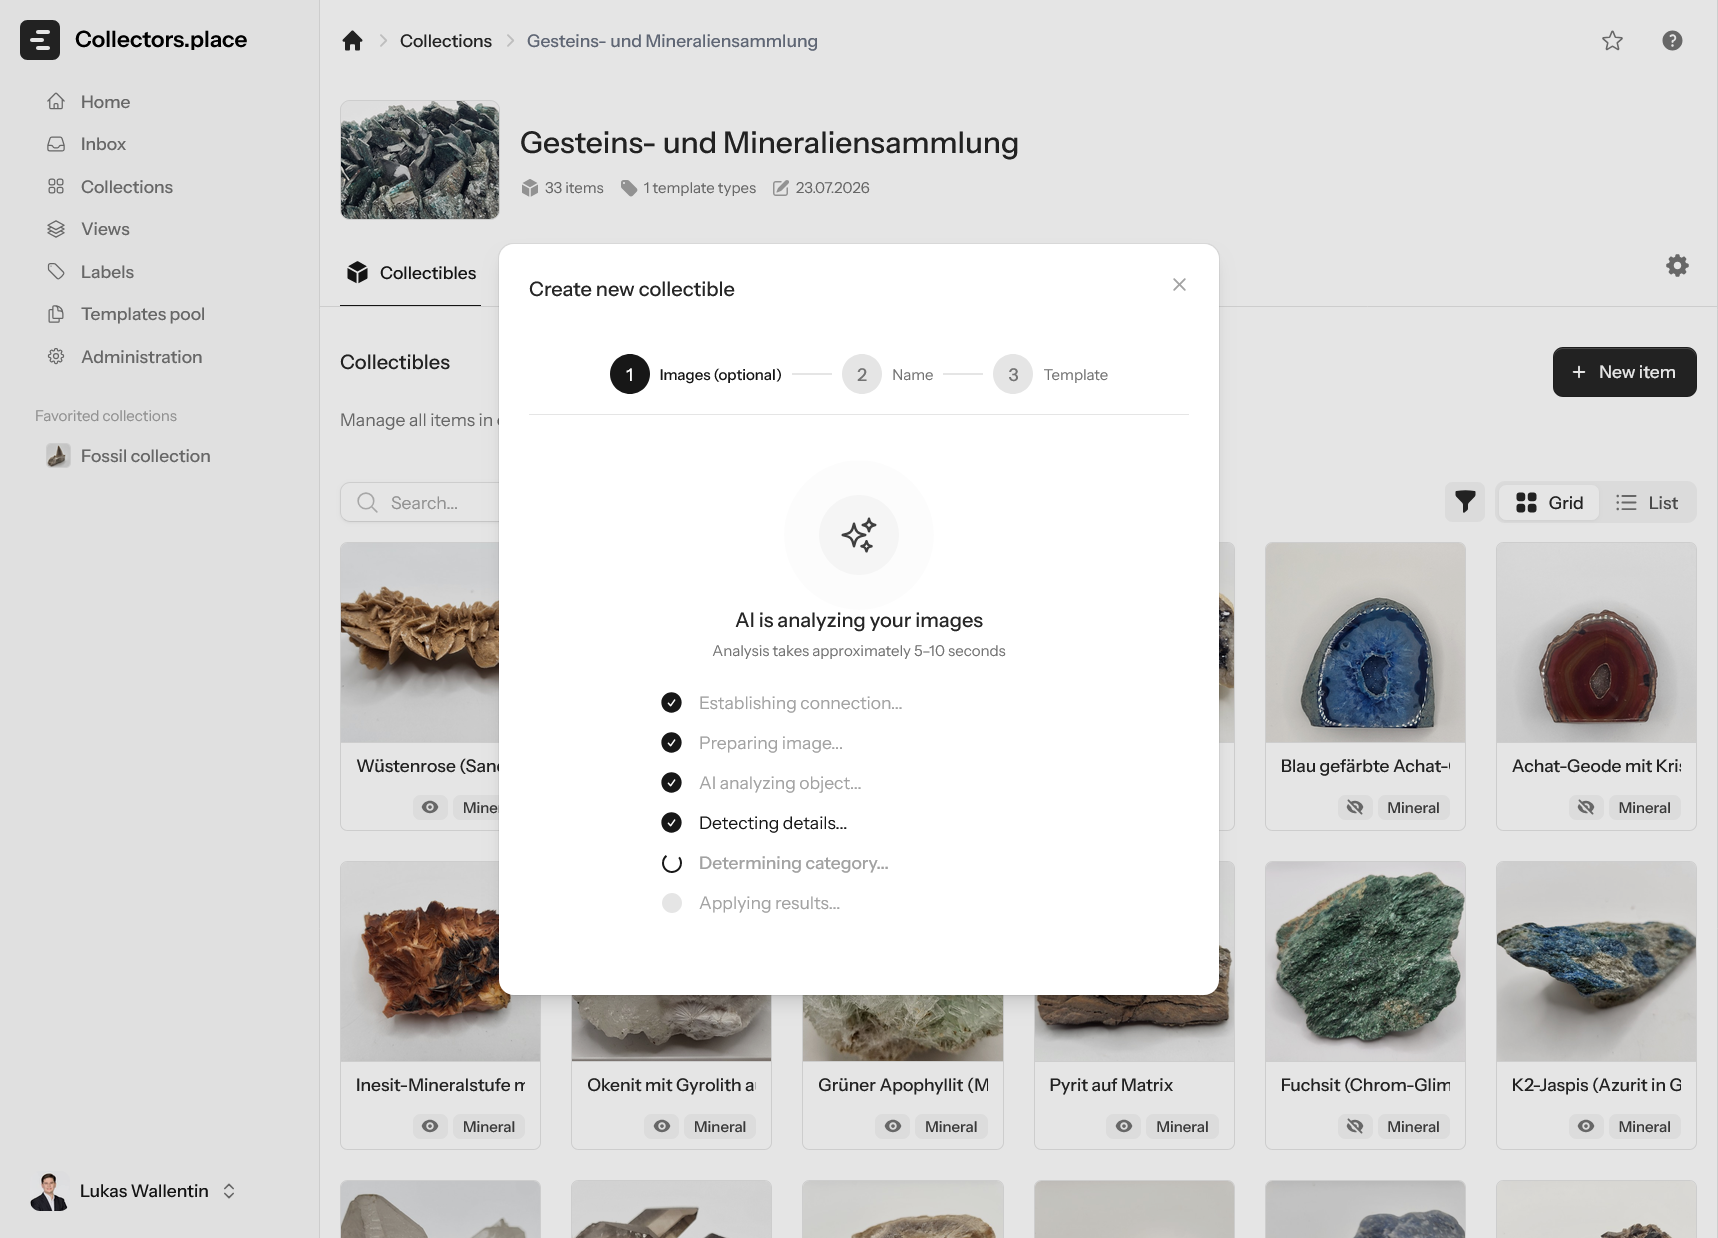
collectors.place then shows an initial name suggestion based on the image analysis, which you can accept immediately or adjust later.
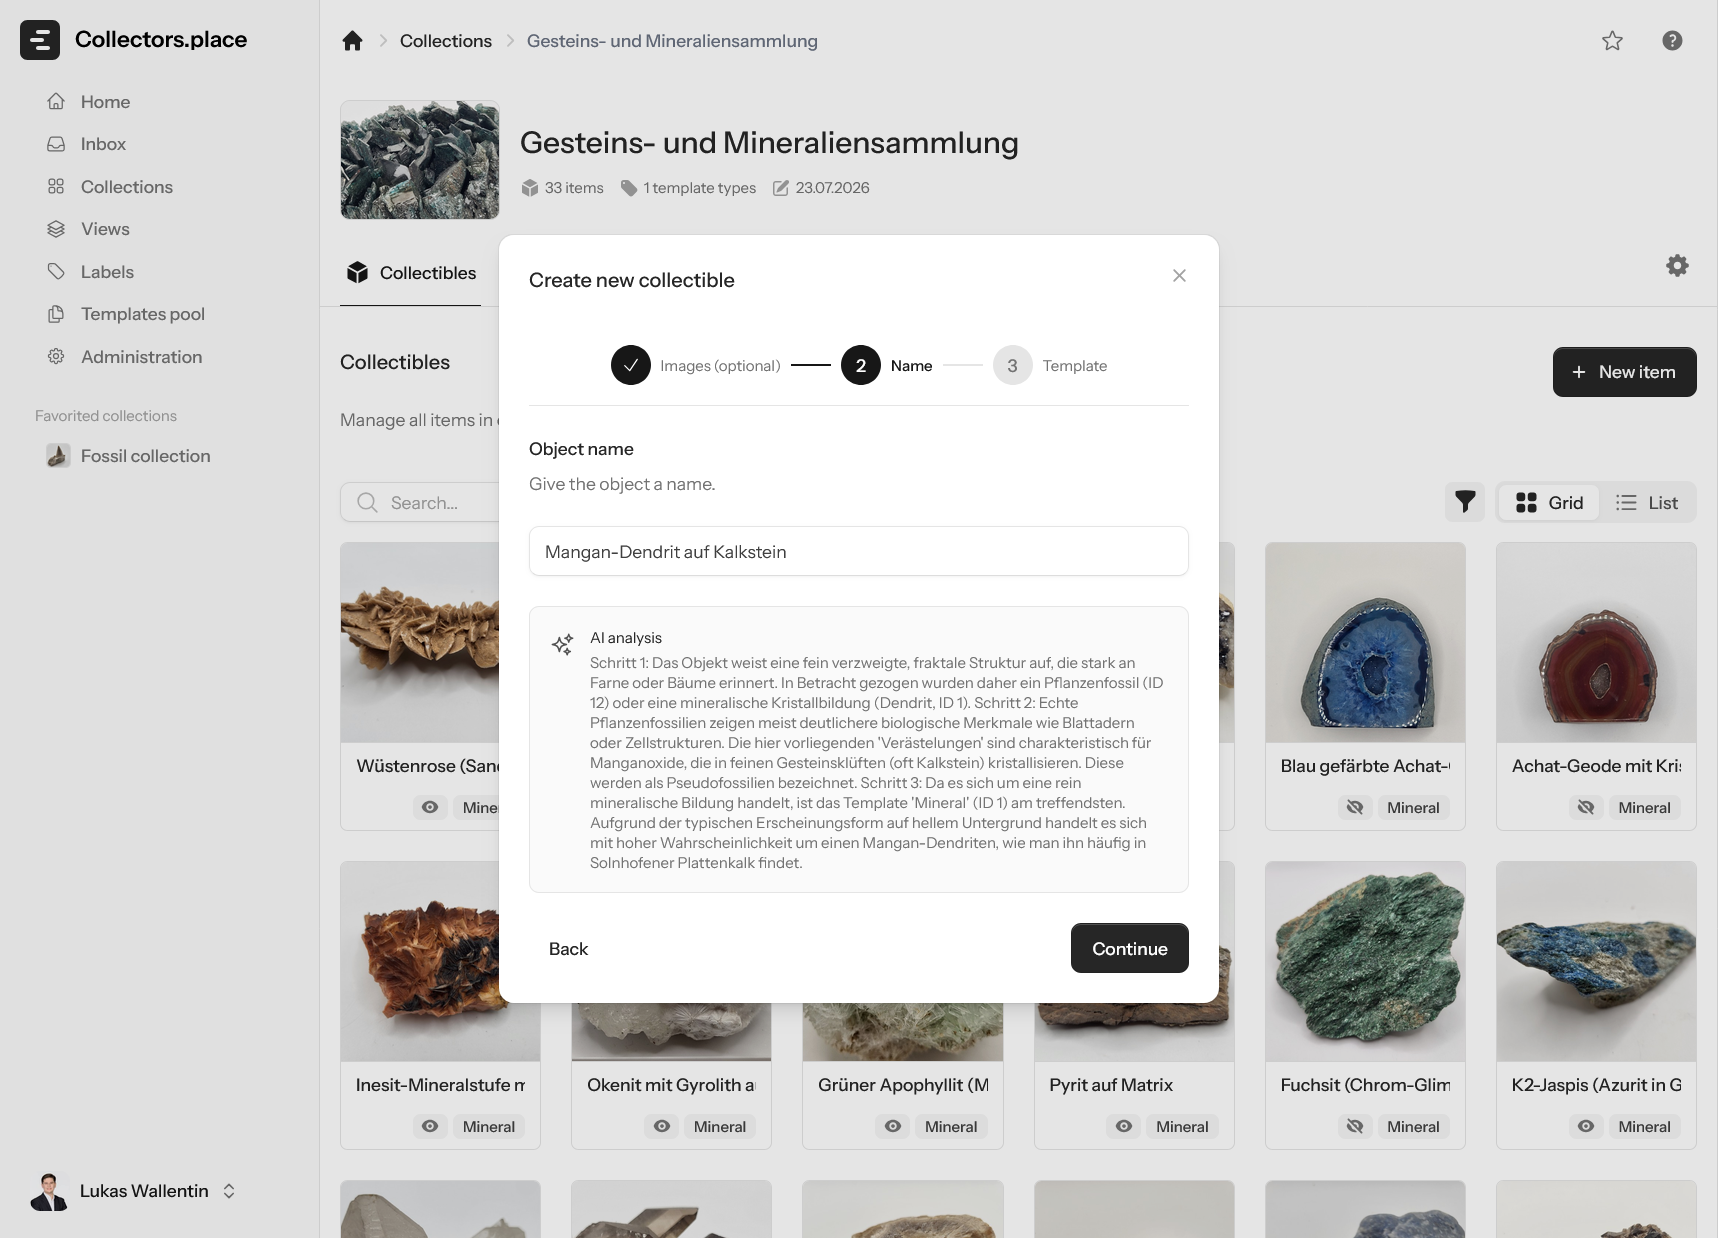
Next, enter the item name. The title should be specific enough that you can recognise the item later without opening it.
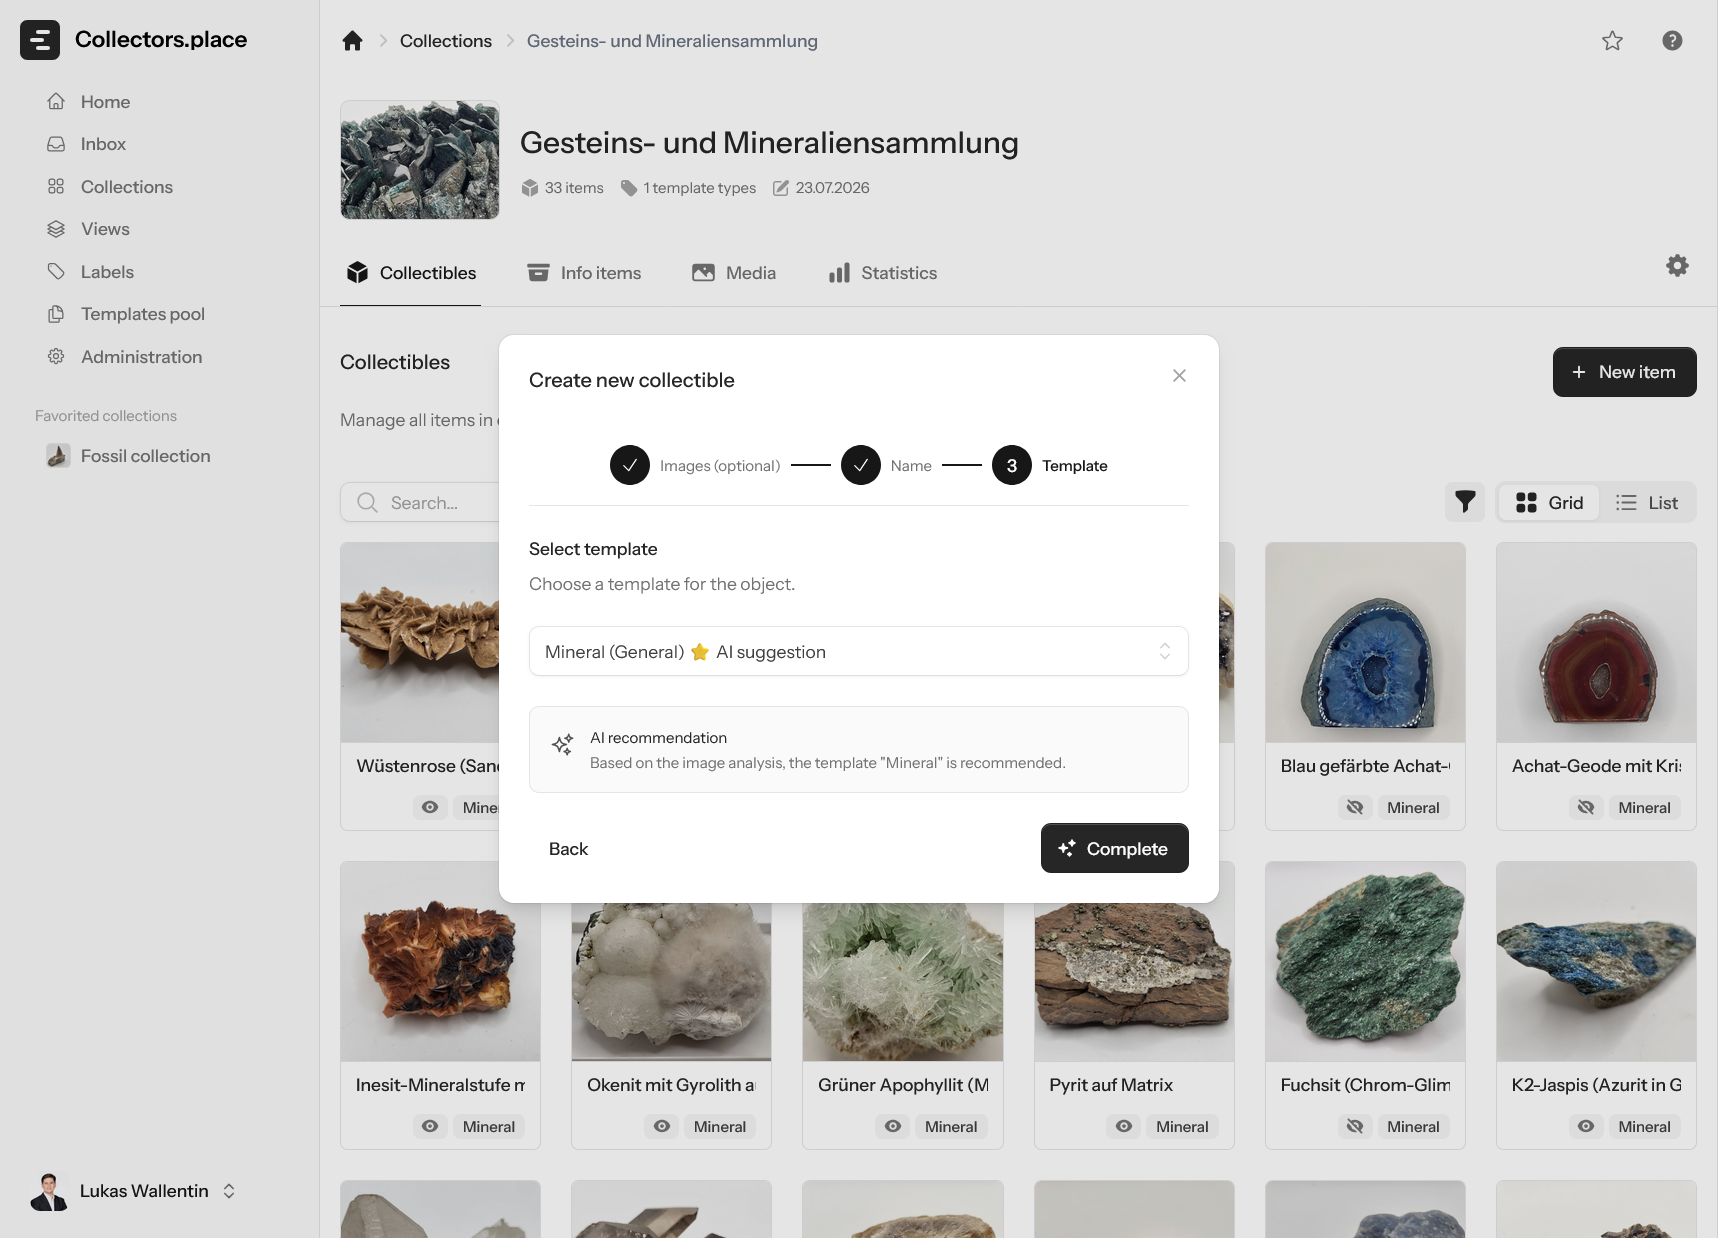
After that, a matching template is suggested for you. The template defines which fields the item will need afterwards, and you can still change it if needed.
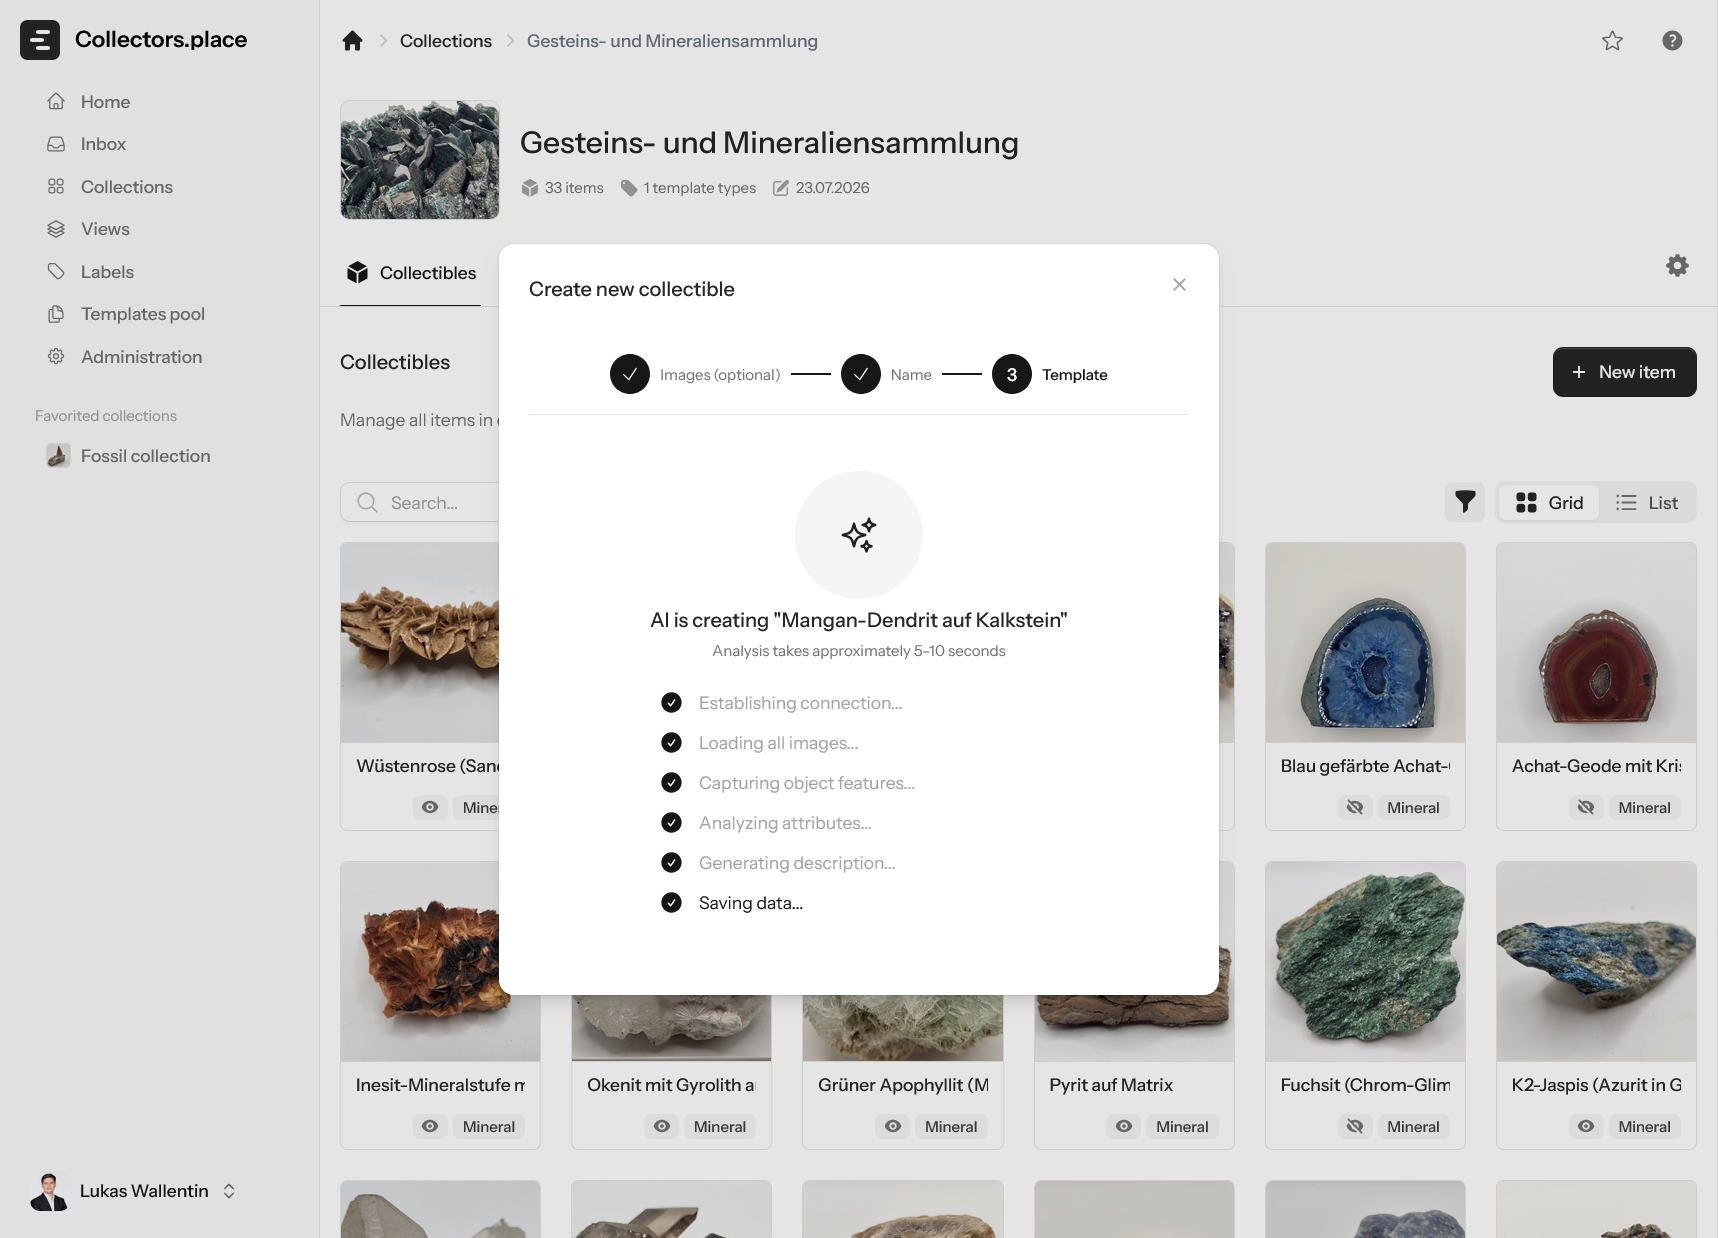
When everything is ready, create the item. collectors.place then stores it in the collection.
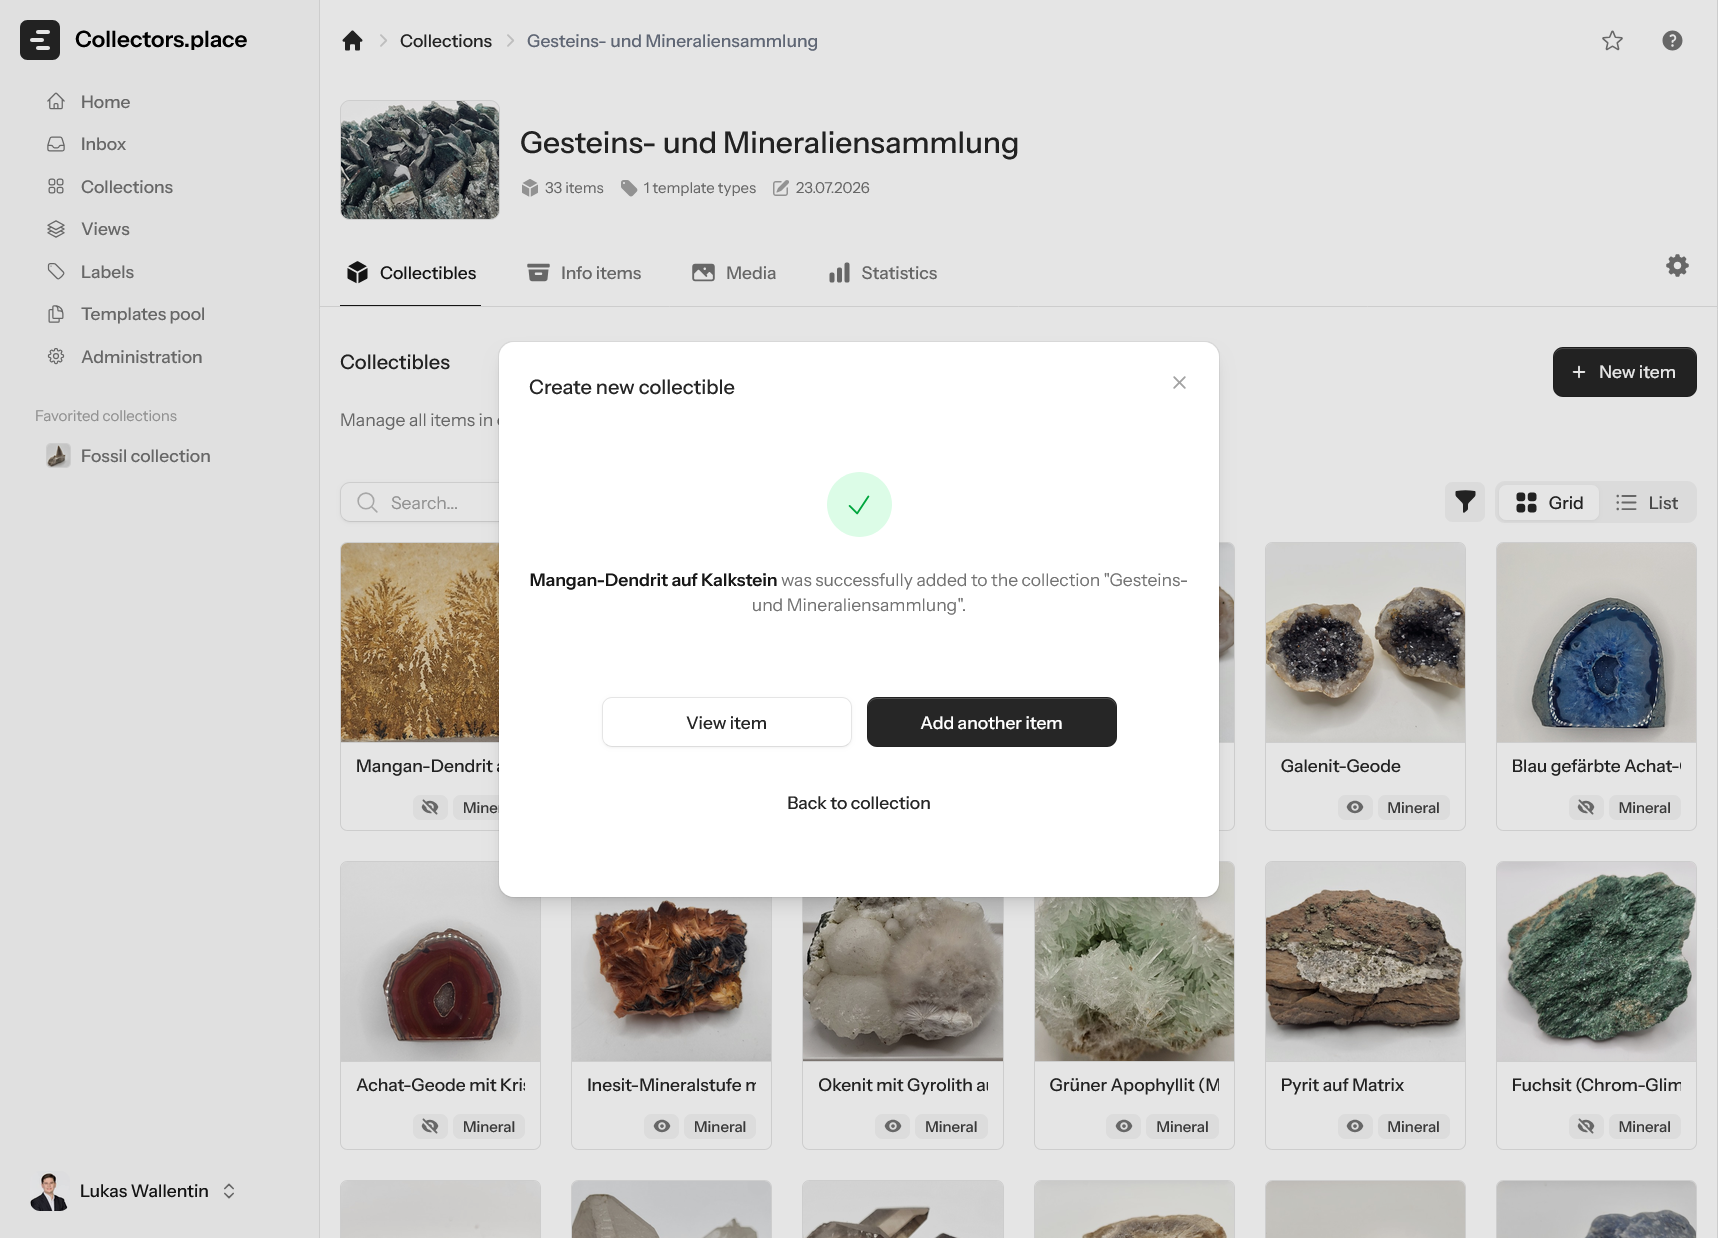
Opening the item for the first time
Right after creation, open the item for the first time. This screenshot shows how it looks once it has been created and is ready for editing.
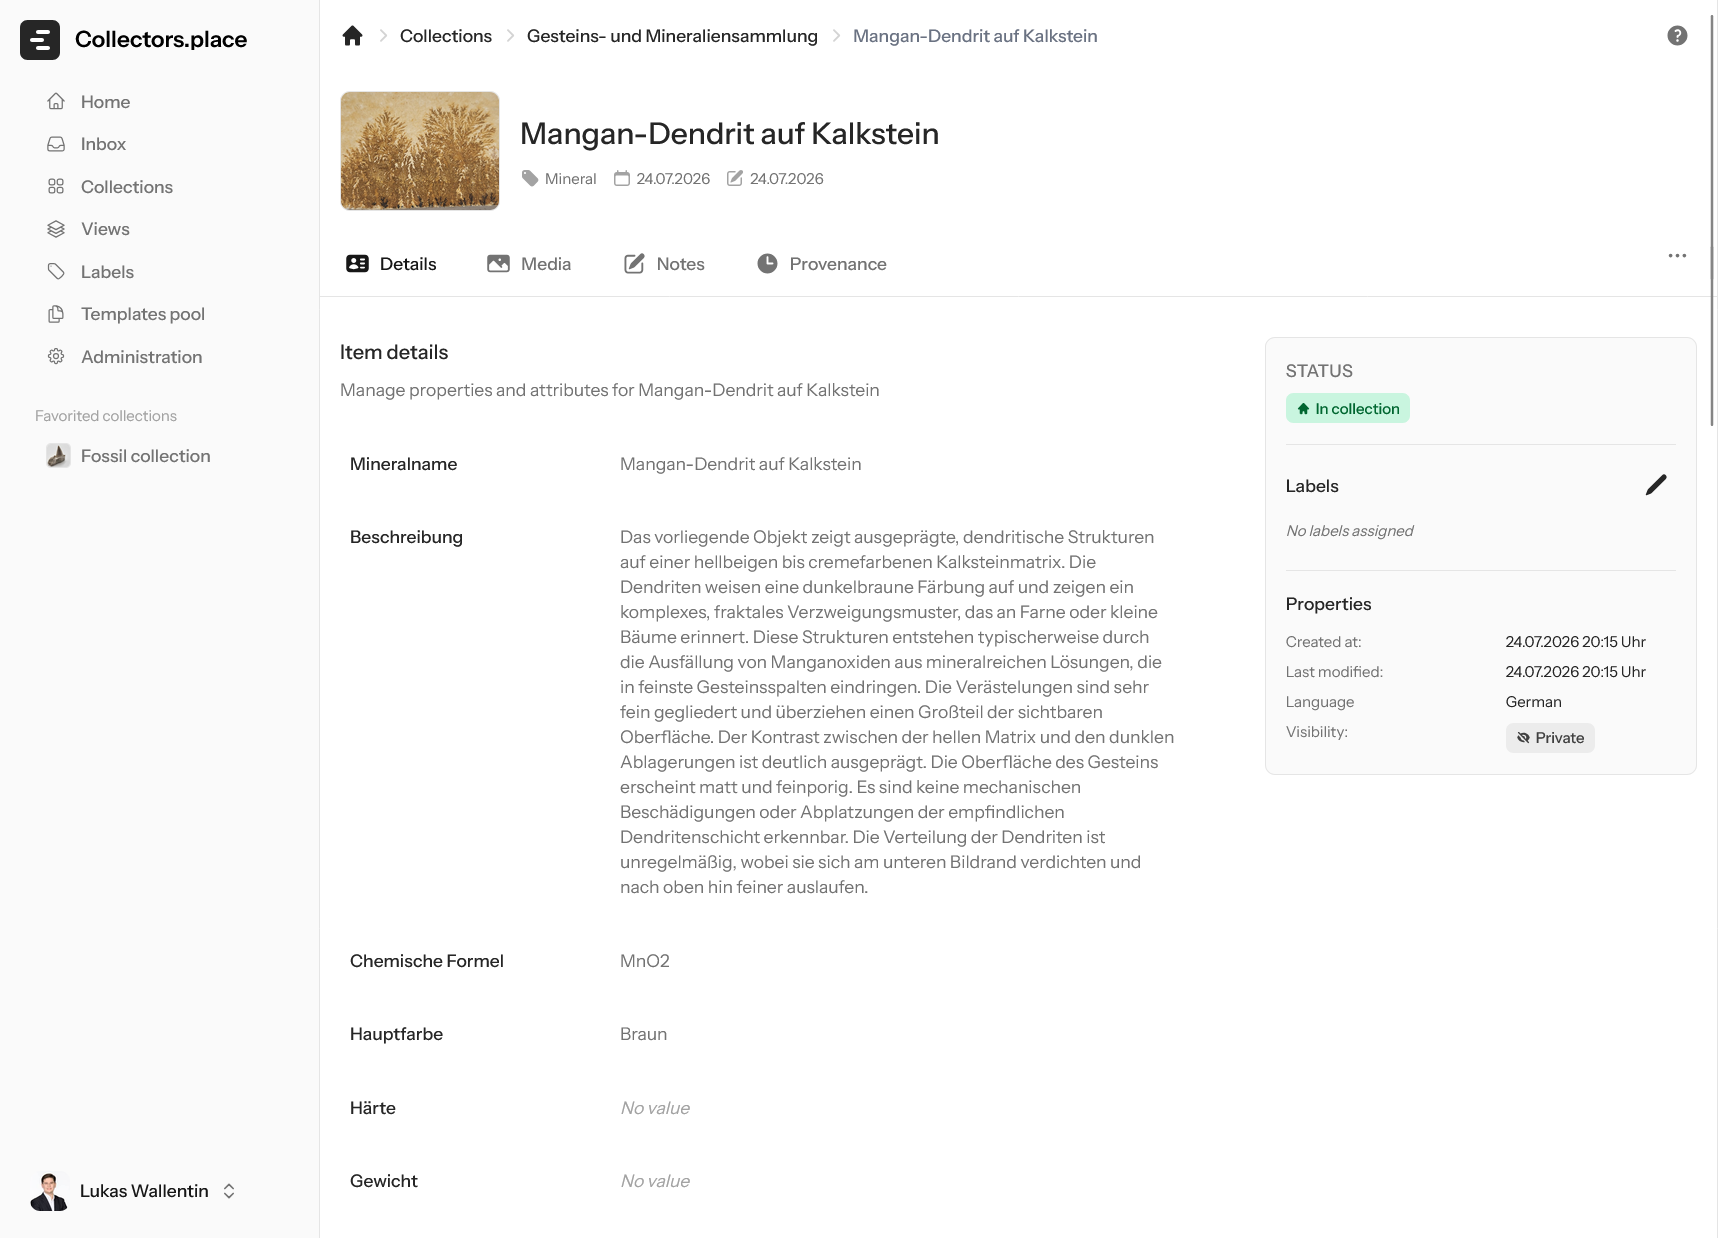
The header shows the title, template name, and cover image. You can edit the title directly there.