Manage Item Details
The detail page is where you continue working on an item after it has been created. Here you refine the important values, update labels, and manage visibility. The tabs at the top are covered in separate chapters.
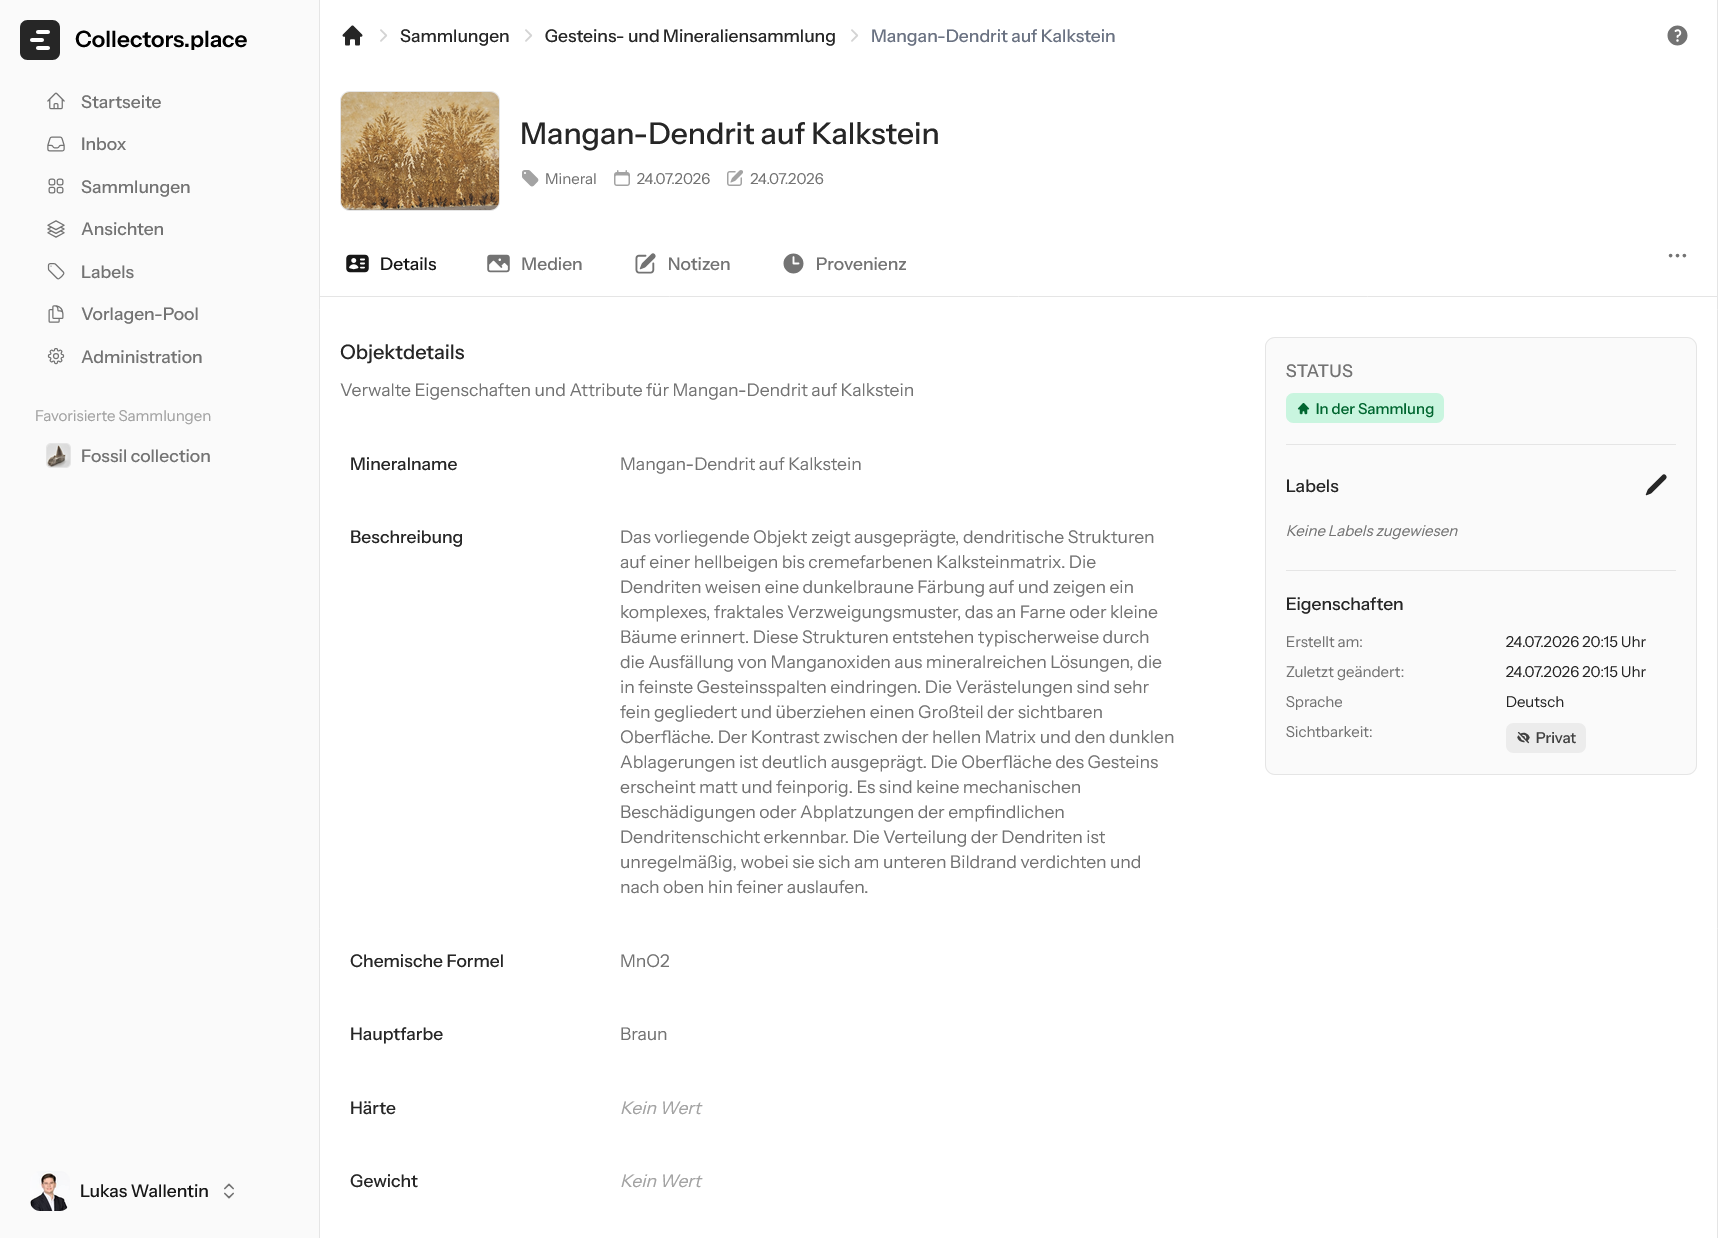
The first image shows the full detail page in its normal state. At the top you can see the item header and the tabs, while the main area contains the item fields and the sidebar shows status, labels, and properties.
Overview on the detail page
At the top you see the cover image, the item name, and important metadata such as type and date. On the right side you find the status, labels, and the key properties of the item. The main area contains the actual item fields.
Editing values
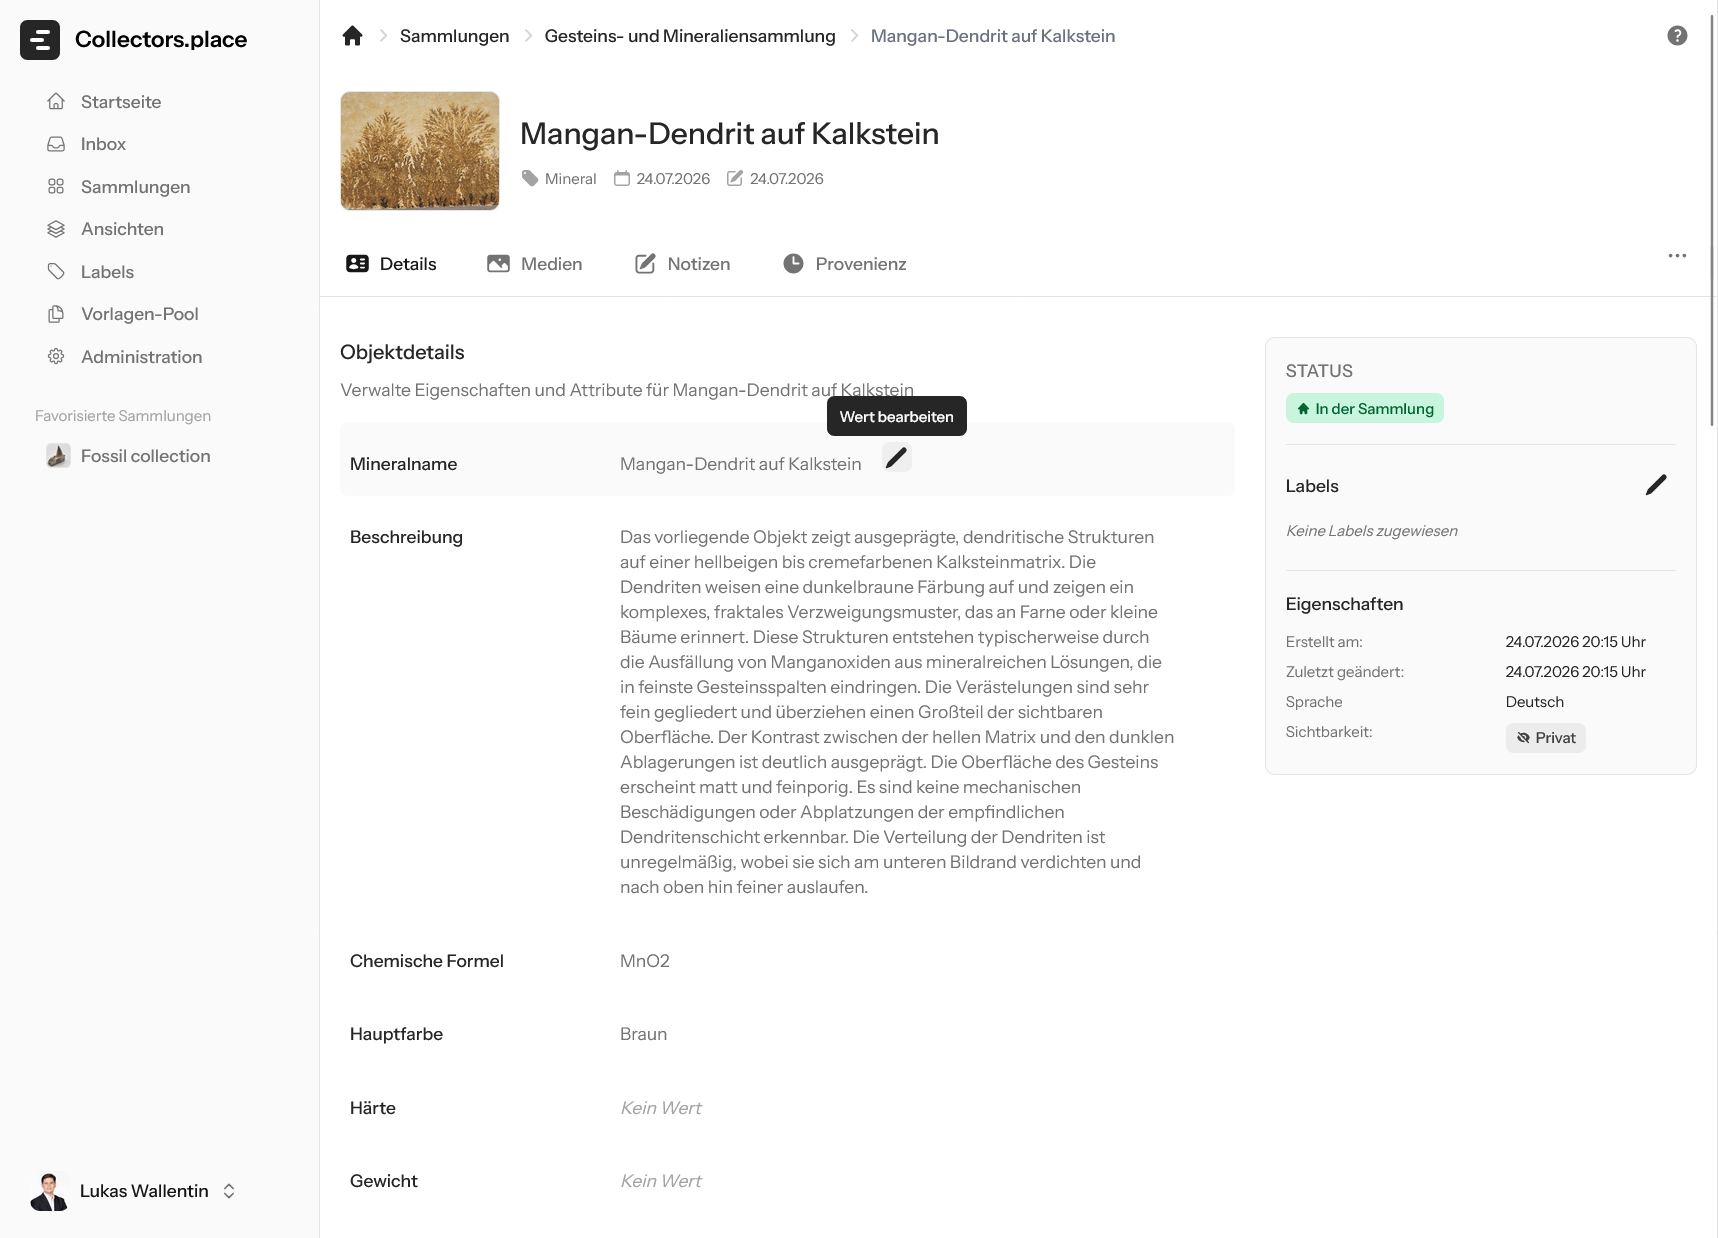
On the detail page, you edit individual values directly through the pencil icon. The next two images show this process for the mineral name: first the hover state, then the edit dialog itself.
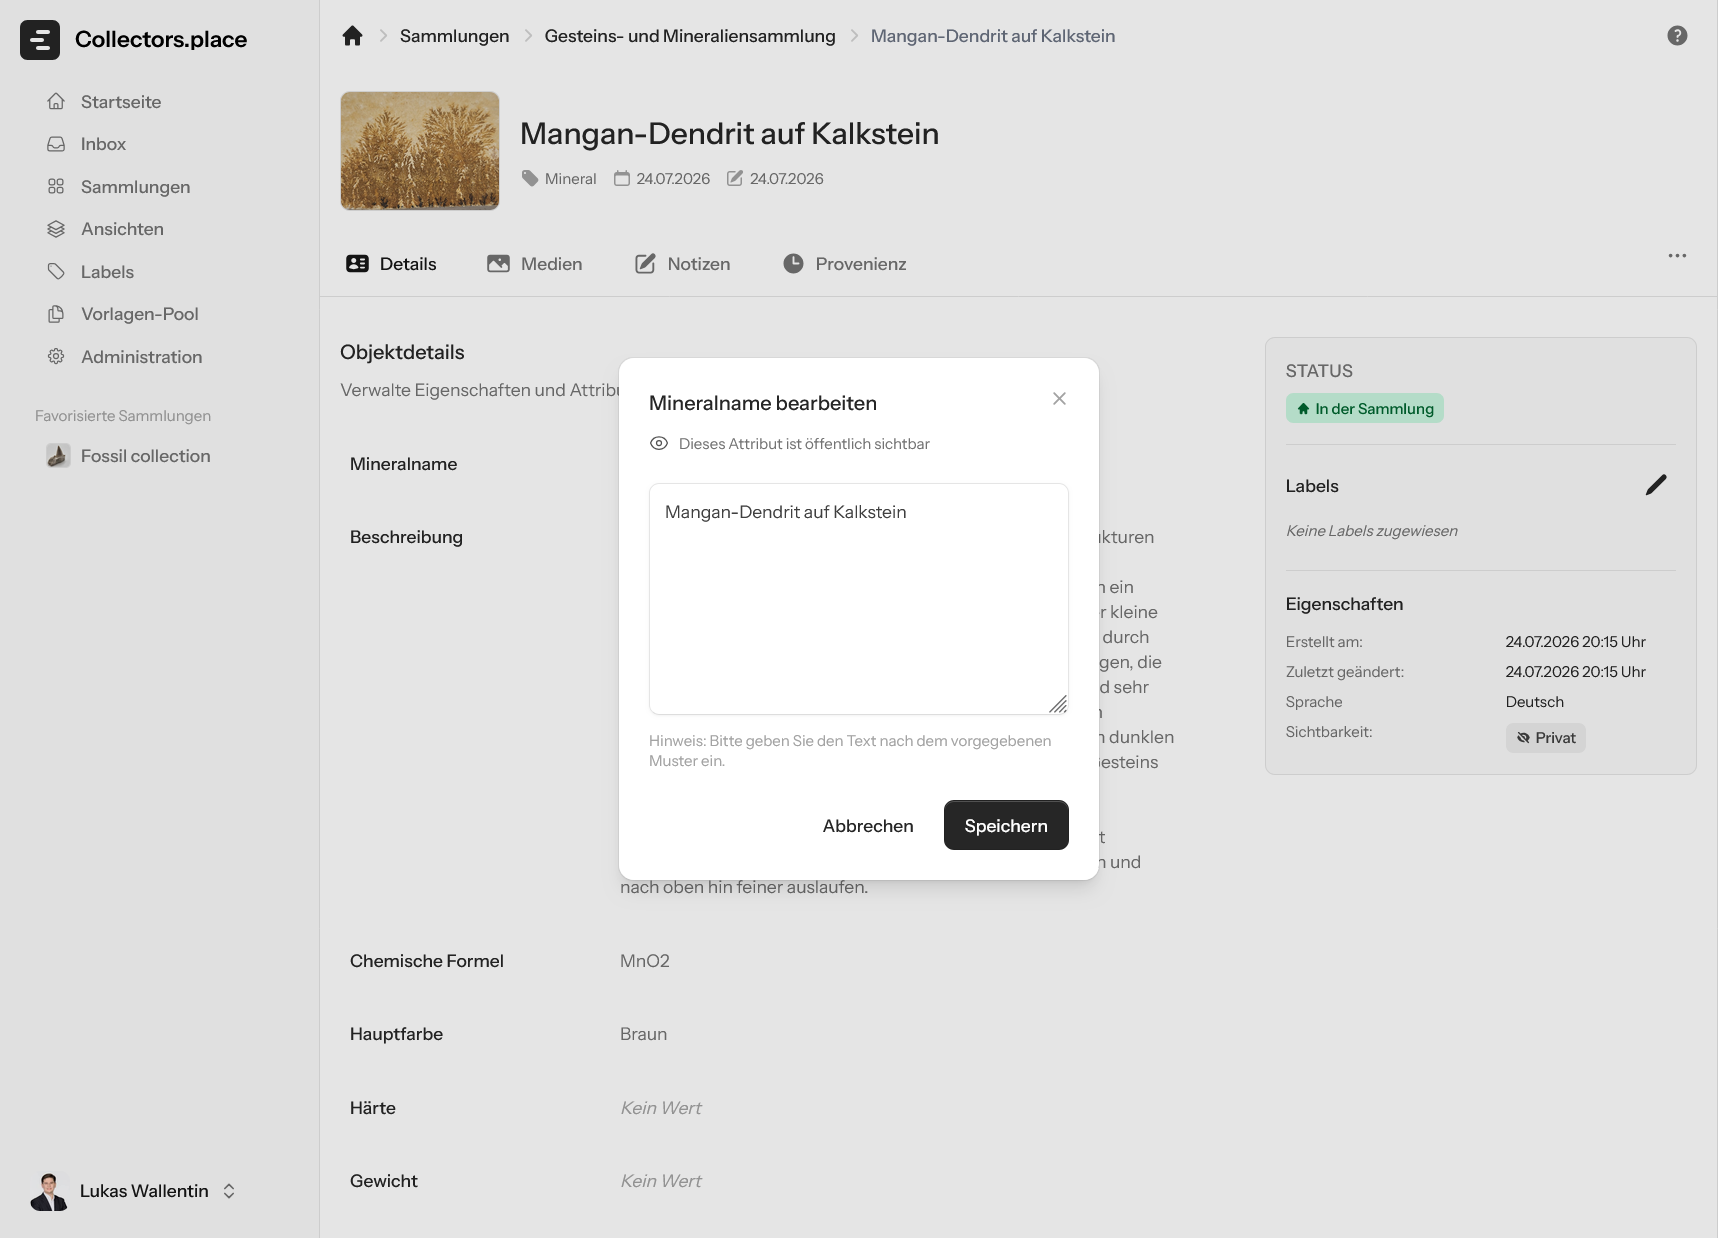
After clicking the pencil icon, the edit dialog opens. In the next screenshot, the value is changed and then saved.
The description works the same way: open it, adjust the text, and save. That keeps the detail page as the central place for ongoing item maintenance.
Managing labels
Use the Labels area in the right sidebar to assign tags to an item. The next images show the full flow: opening the label dialog, searching for an existing label, and confirming the assignment.
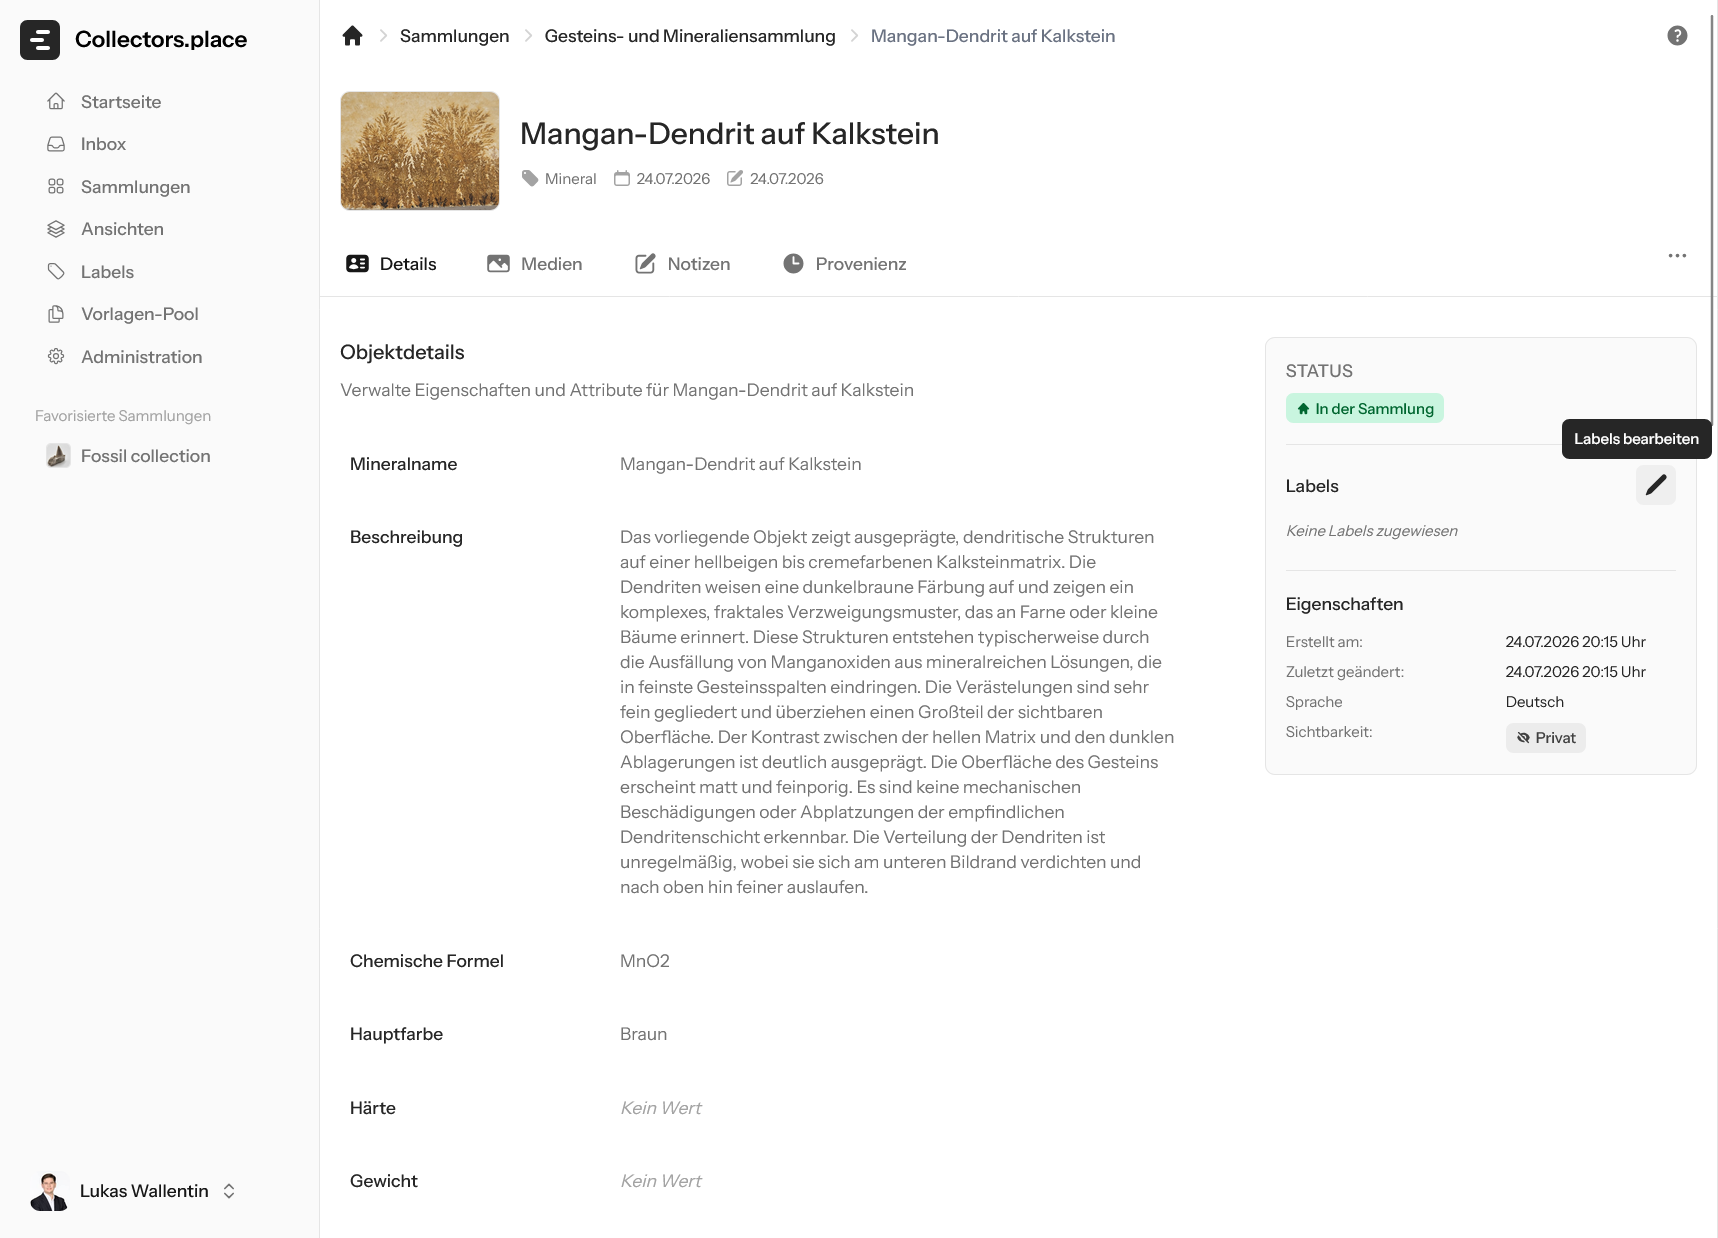
First, open the label dialog from the sidebar. From there you can search for a label or create a new one.
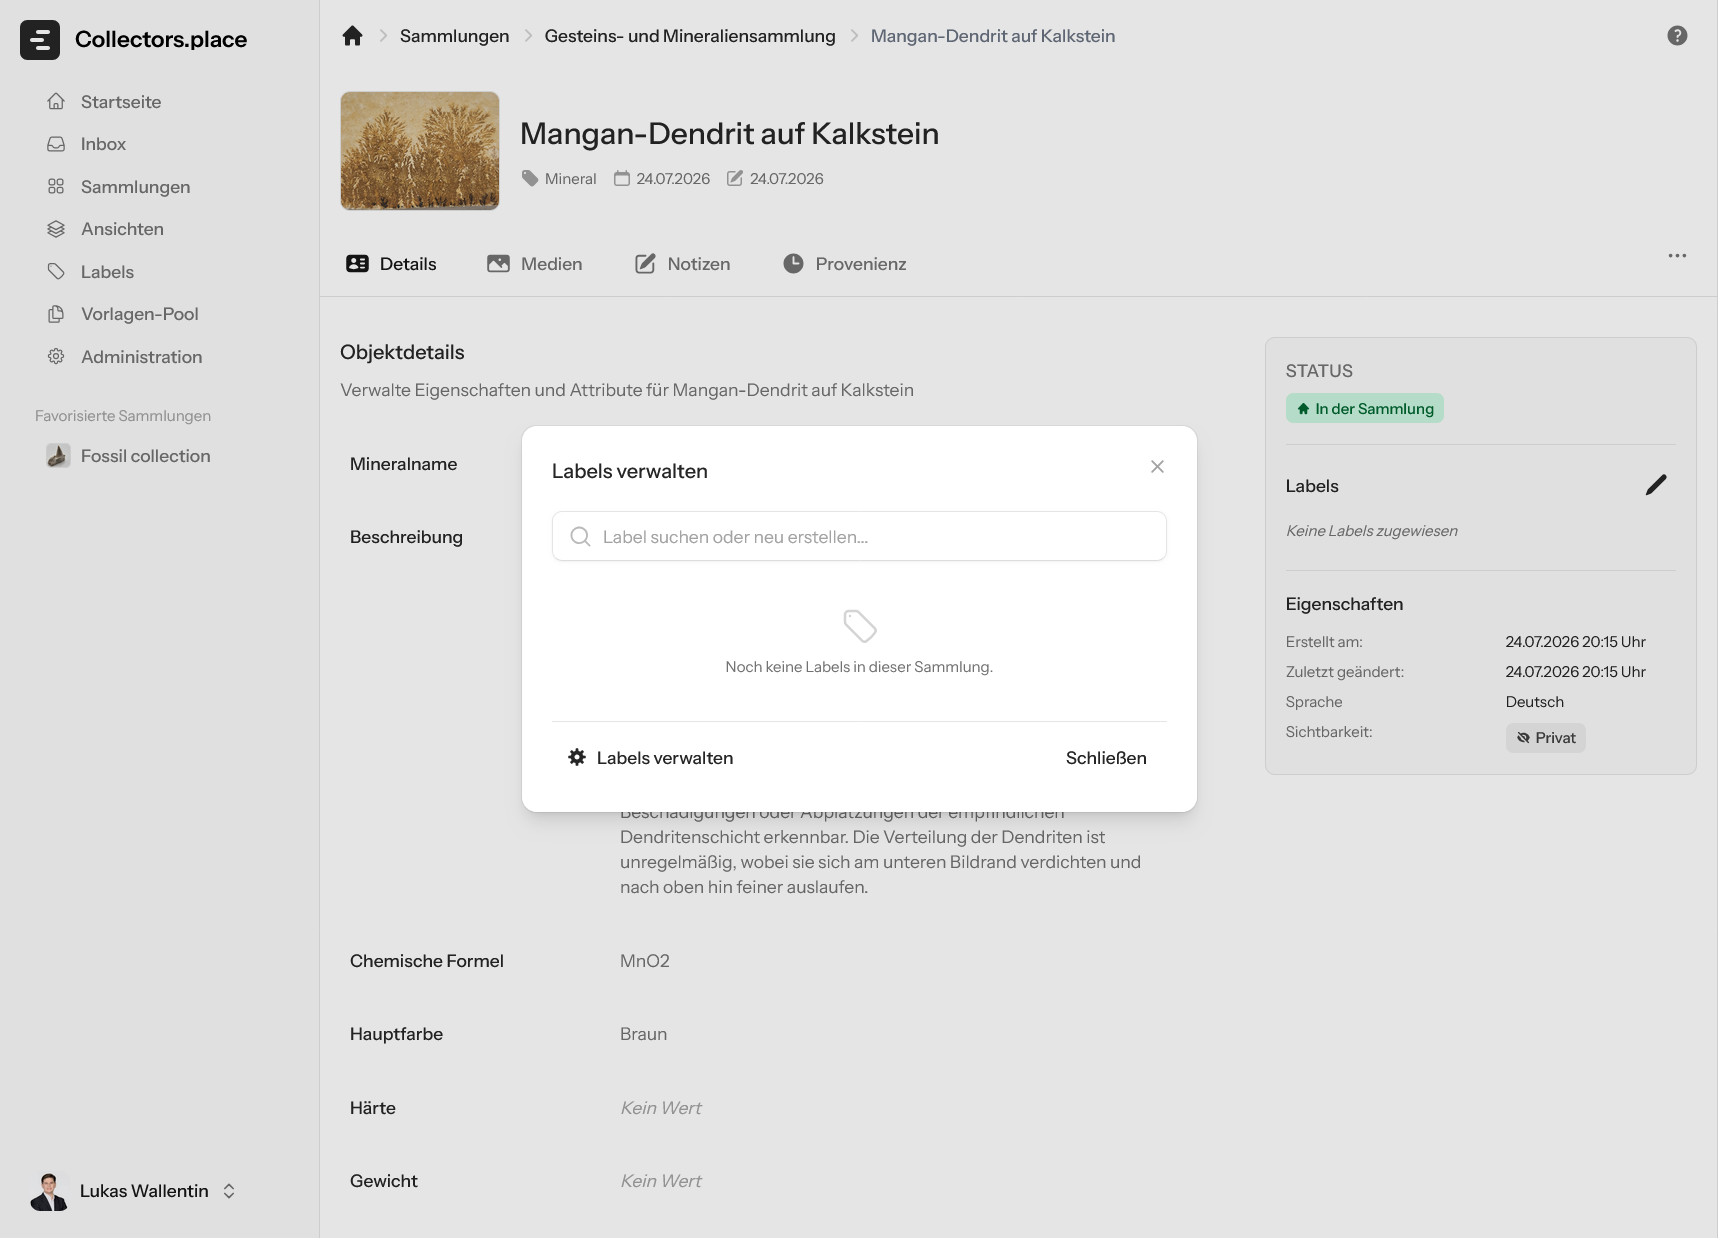
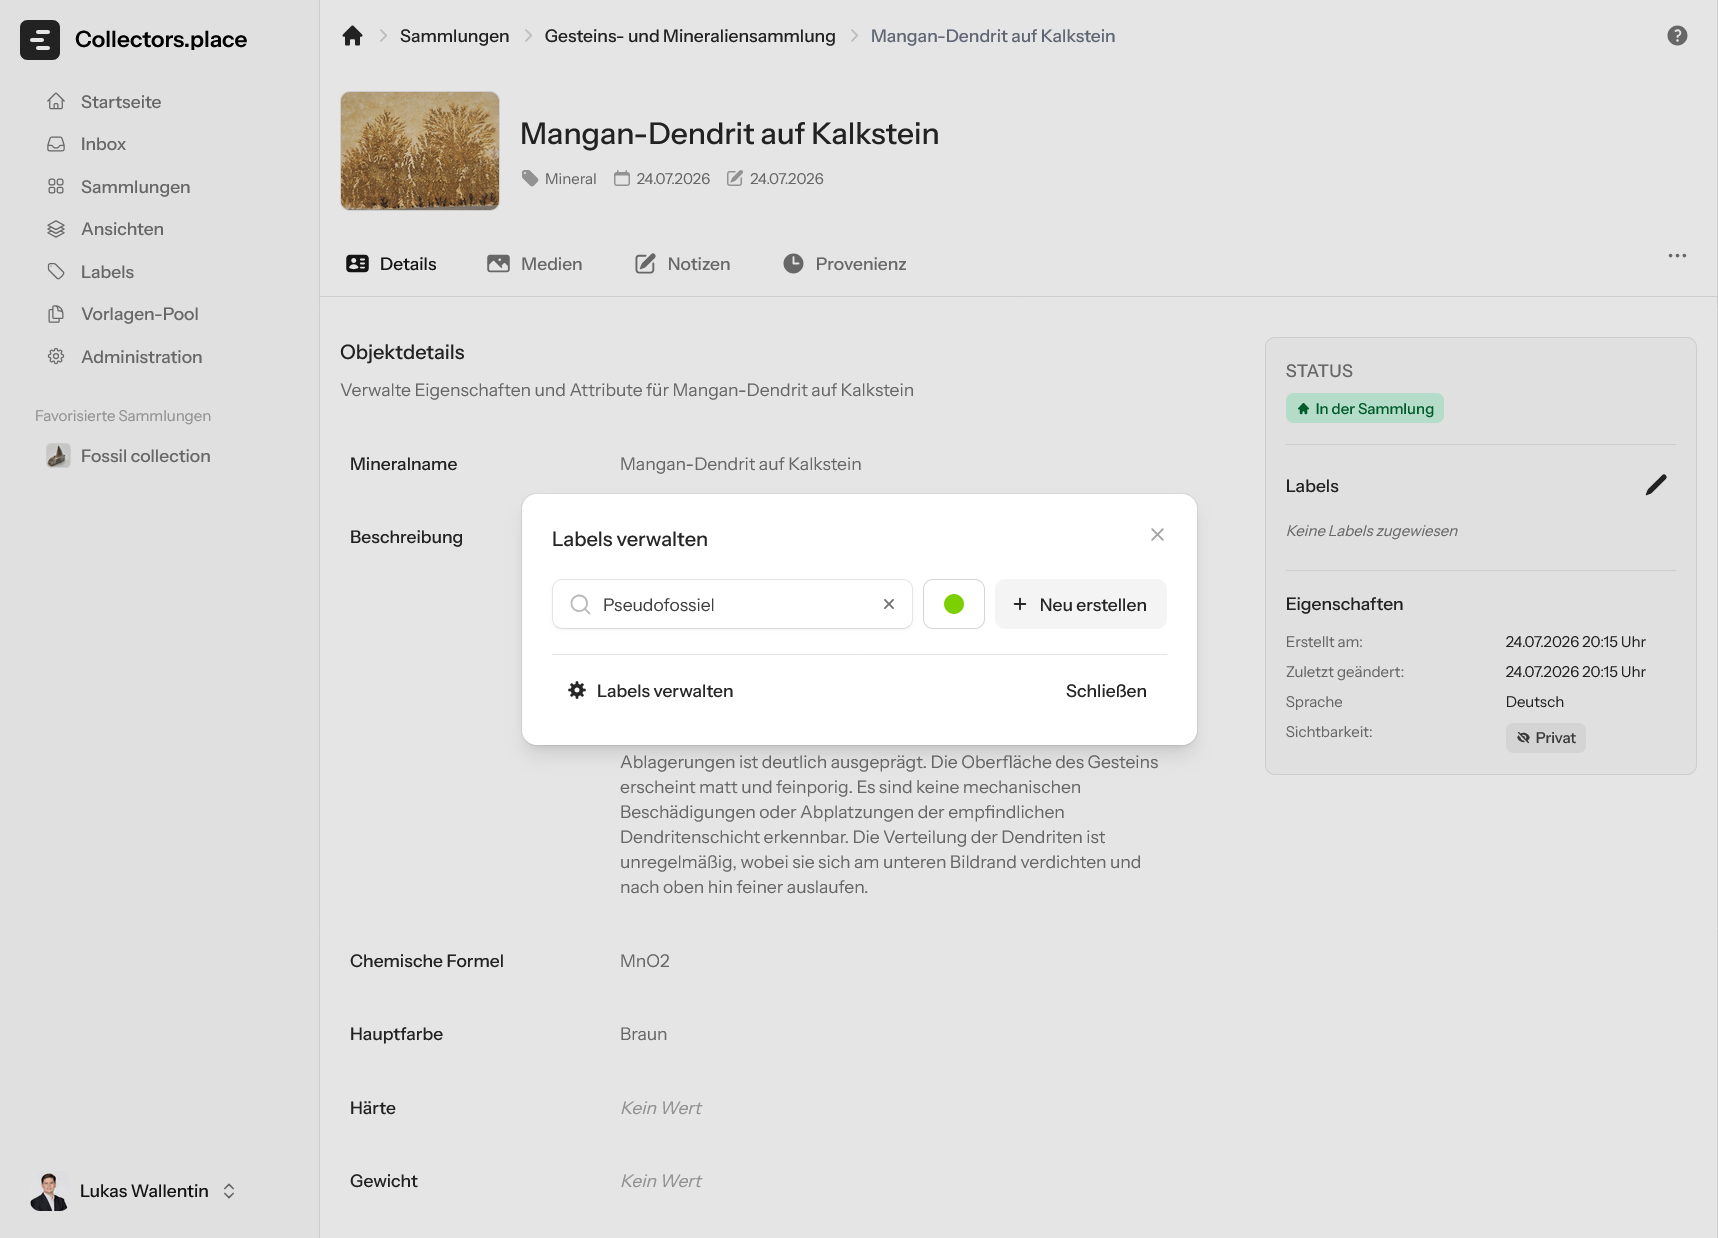
Once you find the right label, you can select it directly. Alternatively, you can create a new label right there, as shown in the screenshot. The dialog then shows the available matches and the assignment state.
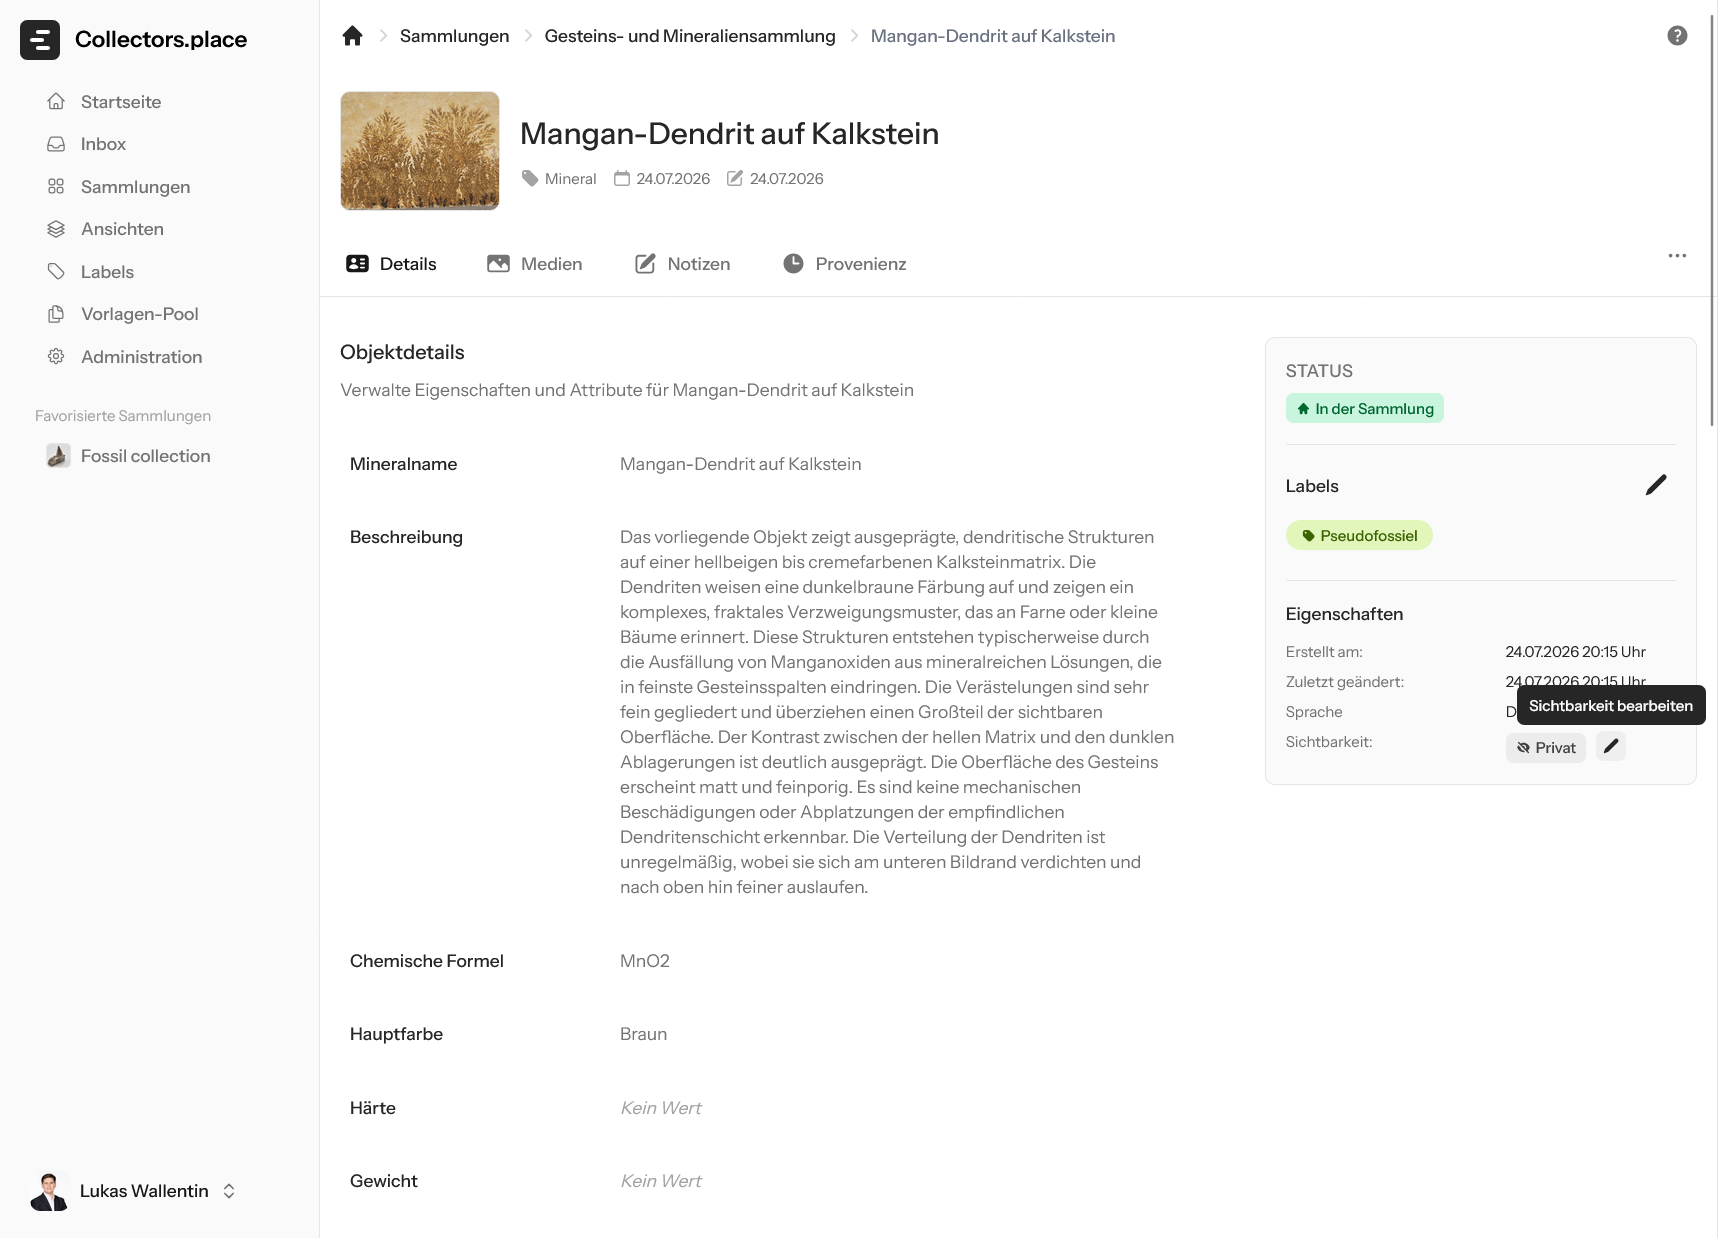
The final screenshot shows the label already attached to the item and visible in the sidebar as well. That makes it easier to organise and rediscover items later.
Changing visibility
Visibility is also controlled from the sidebar. There you can switch between private and public. The next two images show the change dialog and the result after saving.
In the dialog, choose whether the item should stay internal or be shared publicly.
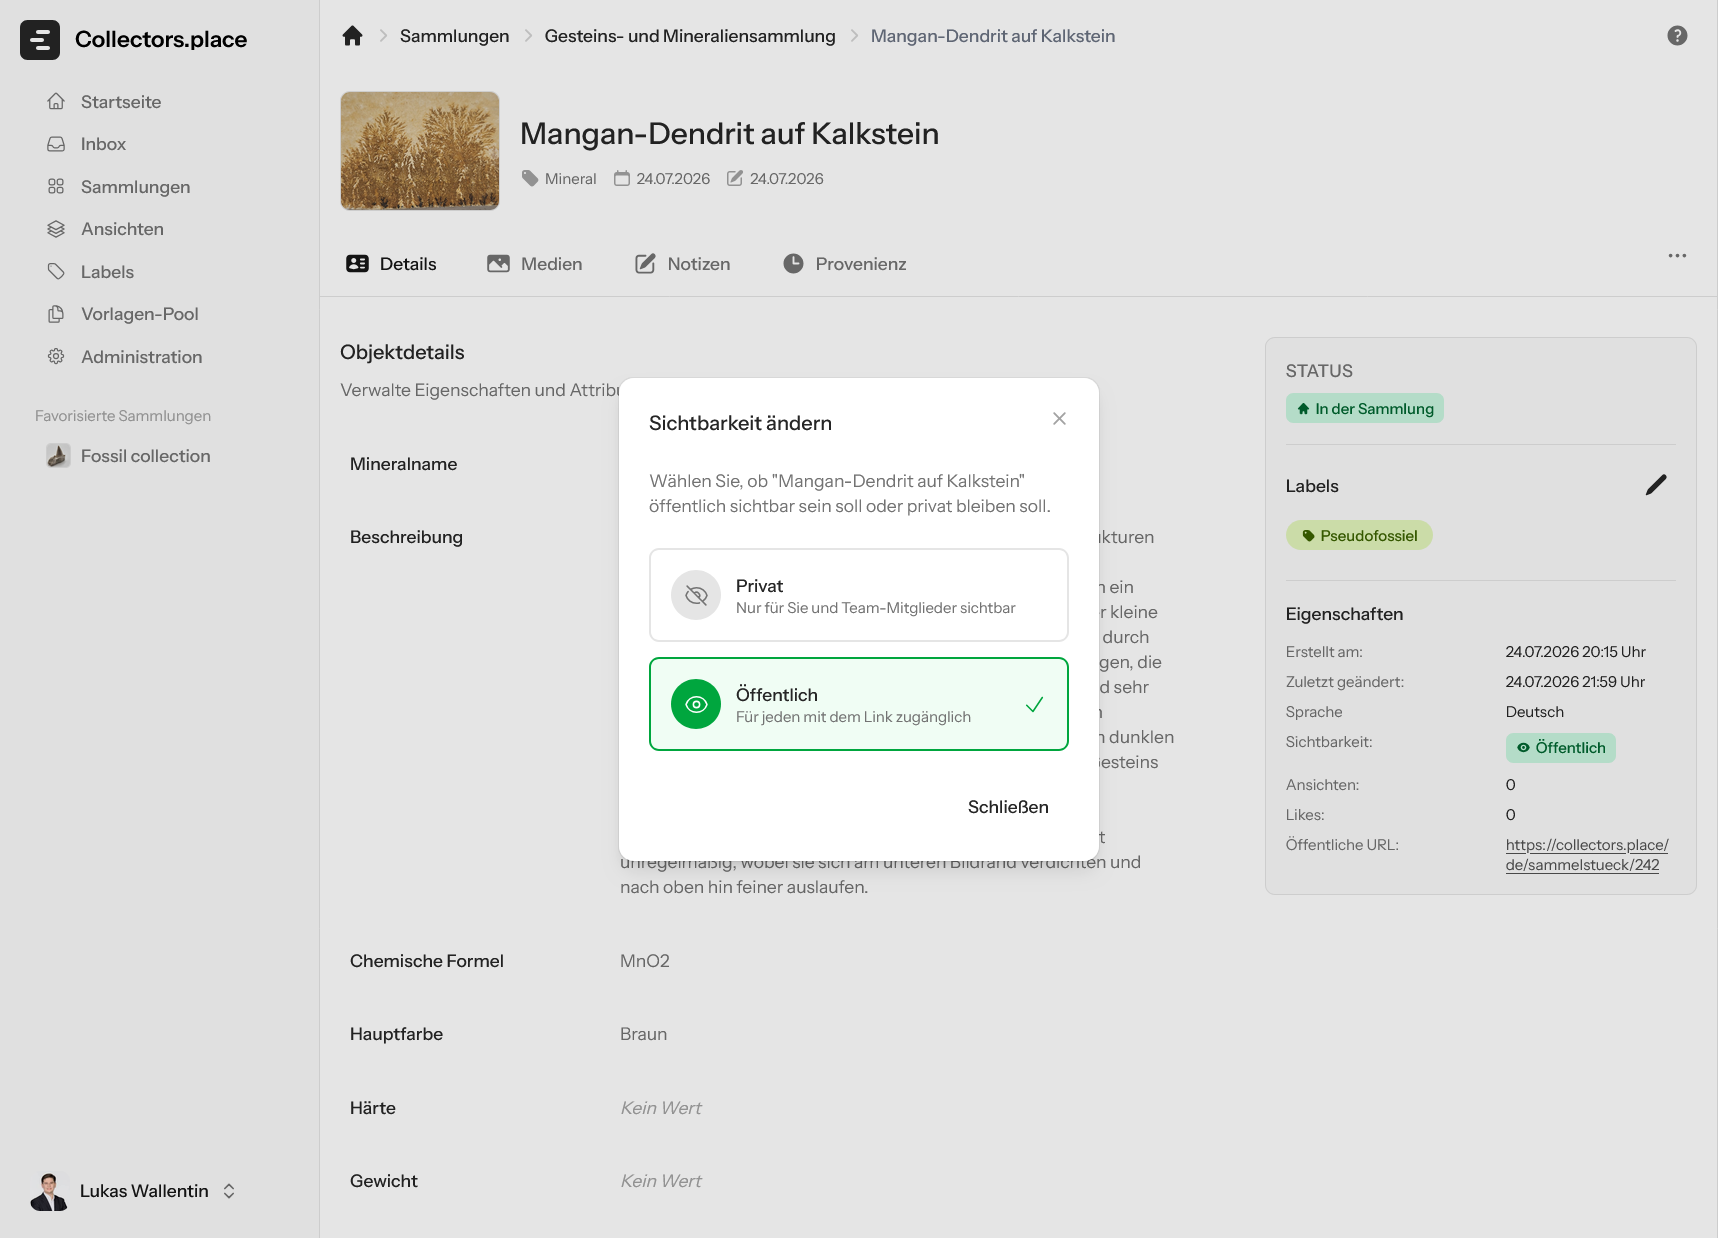
After saving, the sidebar immediately reflects the new visibility. Public items can later be shared through a link, while private items remain internal.
Key takeaways
When working on the detail page, focus on three things:
- Keep the title and description up to date
- Maintain labels and properties
- Set visibility based on how the item should be used
The other tabs at the top will be explained in the next chapters.